How I Would Fix a Wet Crawl Space Before Mold Starts
Last updated: September 10, 2026
Key Takeaways
- If you have a hygrometer, place it in the crawl space for 24 hours.
- Aim to keep relative humidity below 60% and preferably closer to 50% if the house conditions allow.
- The hygrometer settles below 60% and stays there through normal weather swings.
- Relative humidity above about 60% is mold-friendly in ordinary home conditions, and a crawl space that stays around 70% or higher is asking for trouble.
Who this is for, and what I assume you already have
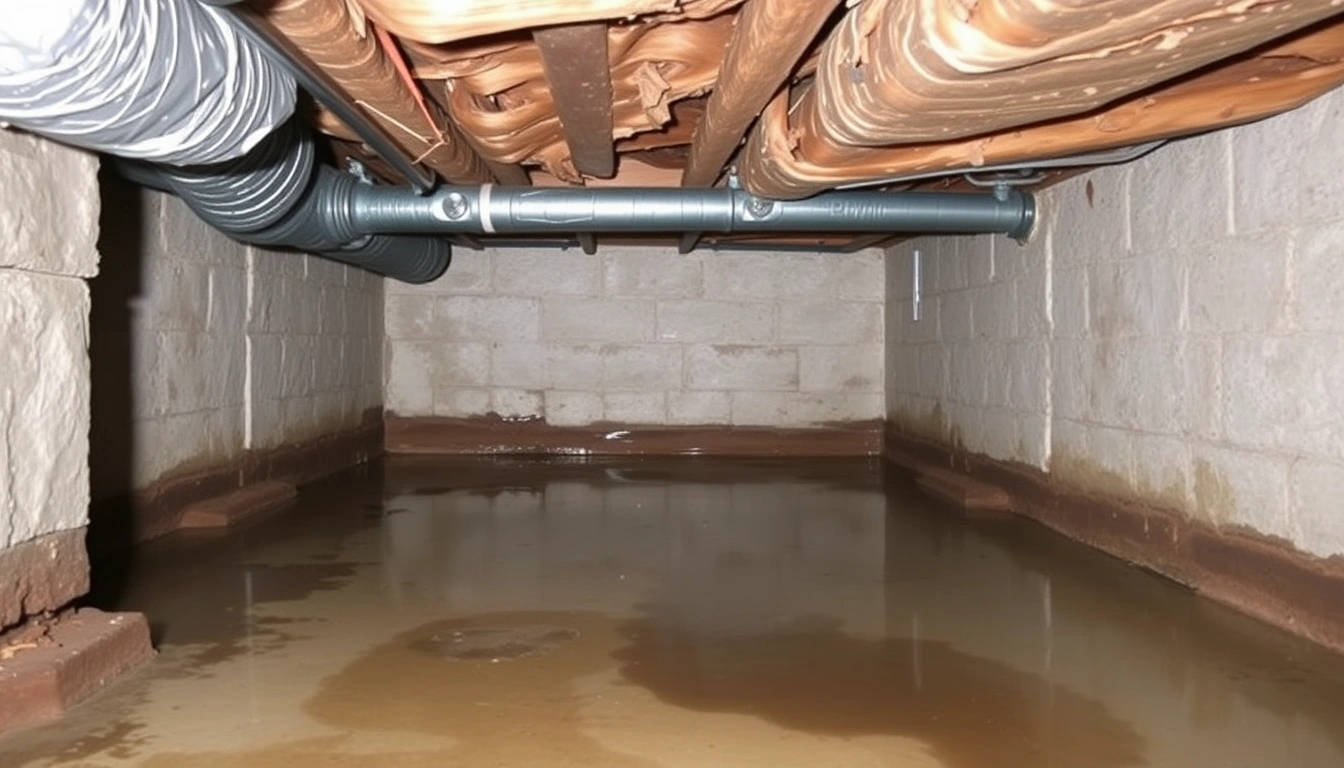
A damp crawl space is a water issue first. Mold comes second. If you already see widespread mold, sewage, or structural damage, I’d call a qualified professional instead of trying to muscle through it. For how fix wet crawl space before mold starts, the aim is simple: get the wood and soil under the house dry enough that mold never gets a foothold. That usually means stopping bulk water, moving humid air out, and giving the crawl space a ground cover that does not feed evaporation. The EPA’s crawl-space guidance and the CDC’s mold advice both point to moisture control first.
I’m writing for a homeowner who can get into the crawl space, carry a utility knife, roll out plastic sheeting, and watch a hygrometer, which is the little meter that reads relative humidity. I’m also assuming you know the difference between a little condensation on a cold duct and a real wet spot on soil, piers, or framing. More than a small area of visible mold? Sewage? Collapsed insulation? Active structural damage? Then this is not a quick patch job, and the EPA recommends professional help for larger mold problems.
Usually, a wet crawl space can be handled with careful DIY work when the source is limited: a loose downspout, a shallow grading problem, an open vent drawing humid air in, or a missing vapor barrier. It is a poor DIY project when groundwater is pushing up through the soil, a foundation crack is leaking under hydrostatic pressure, or the space is too tight and unsafe to enter. Those cases need a drainage and waterproofing plan, not just a plastic sheet and a fan, and the National Association of Home Builders notes that crawl-space moisture problems can have multiple causes. Cheap-looking fixes. Expensive consequences.
The mistake I see most often is trying to “dry it out” with air movement before the source of wetness is handled. That can make the smell better for a week and the problem worse for a season.
What to check before you touch anything
You need to identify whether the crawl space is wet from rainwater, groundwater, plumbing, or indoor air before you spend a dollar on drying it. That is the difference between a 2-hour fix and a project that keeps failing, and for how fix wet crawl space before mold starts, the source matters more than the symptom. Get the cause first. Always.
Start outside. Walk the perimeter during or right after a rain if you can. Check that gutters are clear and downspouts discharge several feet away from the foundation, not at the footing. Look for low spots where water runs back toward the house. A crawl space that gets wet only after rain usually points to surface drainage, a bad downspout extension, or splashback. Water that shows up after dry weather often points to plumbing leaks, condensation, or groundwater.
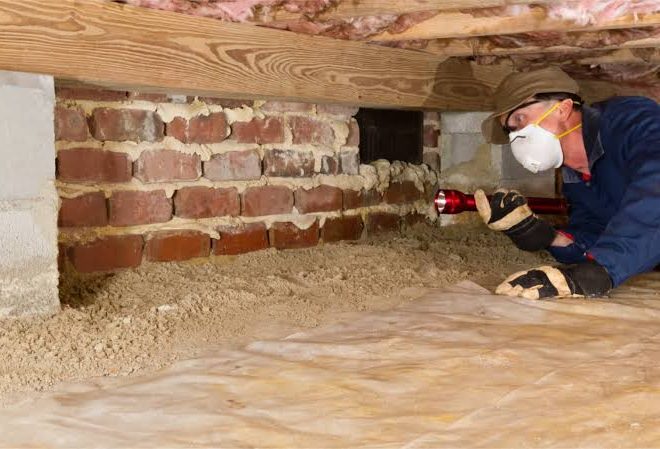
Then look inside the crawl space with a bright flashlight. First question: is the soil bare or already covered with plastic? Bare soil constantly releases moisture; even when it looks “dry,” it can feed humidity for days. Check the underside of the subfloor, the bottom of joists, rim joists, and ductwork for dark staining, peeling paint, fuzzy growth, or water droplets. A moisture meter is useful here, but you do not need one to notice wood that feels cold, damp, or soft at the edges.
If you have a hygrometer, place it in the crawl space for 24 hours. Relative humidity above about 60% is mold-friendly in ordinary home conditions, and a crawl space that stays around 70% or higher is asking for trouble. If the crawl space air is much more humid than the upstairs air, you need to find out why. The EPA and CDC both treat persistent dampness as a mold risk.
Also check whether the crawl space vents are open. In hot, humid climates, open vents often pull in damp outdoor air that condenses on cooler surfaces. In cooler or mixed climates, those vents can still admit wind-driven rain and pests. Many older crawl spaces were built vented; that does not mean venting is helping now. Sometimes the old “fix” is the problem.
How do I dry a crawl space before mold grows?
You dry it by stopping the water entry, covering the ground, and controlling humidity in that order. If you do those out of order, you waste time and money, and how fix wet crawl space before mold starts depends on that sequence. No shortcuts. No guesswork.
- Remove standing water first. Use a wet vac, pump, or buckets to clear any pooled water, aiming to leave no visible puddles. Verify that the water is gone from low spots and behind piers; if water returns within hours, the source is still active and you have a drainage problem, not just a cleanup problem.
- Fix the outside water path. Extend downspouts to discharge at least 4 to 6 feet from the foundation and regrade soil so the ground slopes away from the house. Verify during the next rain that water moves away, not back under the crawl opening. If runoff still collects near the foundation, surface grading alone is not enough.
- Inspect for plumbing leaks and seal them. Check supply lines, drain lines, and HVAC condensate drains for drips. Tighten fittings or replace damaged sections, then dry the area and recheck after 30 to 60 minutes of water use in the house. If moisture returns at the same point, the leak is not fixed.
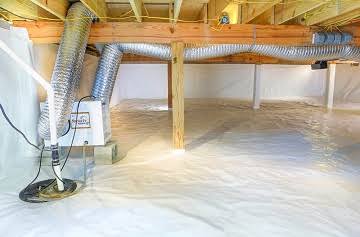
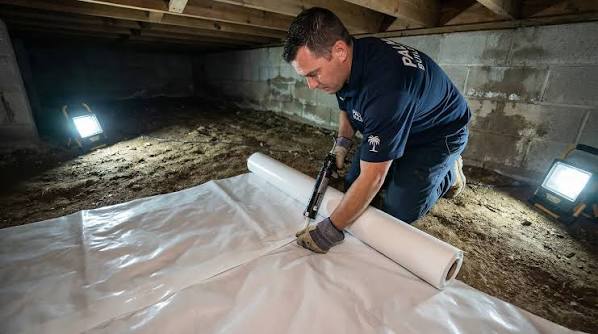
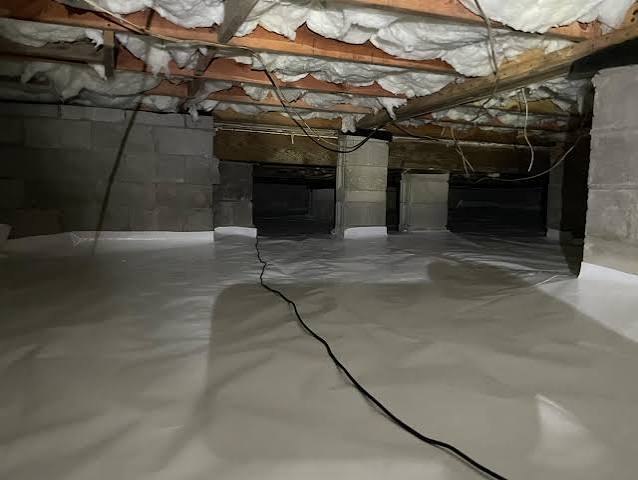
- Cover the ground with a vapor barrier. Lay 6-mil polyethylene at minimum; 10- or 12-mil is tougher and easier to keep intact. Overlap seams 12 inches, tape them with tape meant for polyethylene, and run the barrier 6 to 12 inches up the foundation wall or piers where practical. Verify that most exposed soil is covered and that the plastic is not bridging over sharp debris that can puncture it. Holes, open seams, and uncovered strips at the edges are failure points.
- Seal obvious air leaks to the crawl space. Close gaps around pipes, wires, and the rim joist with appropriate sealant or foam made for the material. Verify with a light check: if you can see daylight through a gap, humid air can get through too. Do not seal combustion air openings for equipment that requires them.
- Control humidity. In a sealed or sealed-leaning crawl space, use a dehumidifier sized for the space and drain it continuously if possible. Aim to keep relative humidity below 60% and preferably closer to 50% if the house conditions allow. Verify with a hygrometer placed in the crawl space, not upstairs. If humidity stays high even after the barrier and leak fixes, the crawl space is still taking on moisture somewhere.
- Dry materials that can be dried safely. Insulation that is lightly damp but still intact may dry if the source is stopped and air is controlled; soggy, hanging, or contaminated insulation usually needs removal. Verify that wood surfaces are drying, not darkening. If the subfloor remains damp after several days of control, hidden wetting or trapped moisture is still present.
- Keep access and monitoring in place. Leave a hygrometer, inspect after heavy rain, and check the crawl space monthly through the next season. Verify that odors fade, wood stays dry to the touch, and no new staining appears. If the crawl space smells musty again within a week or two, the fix is incomplete.
The order matters because mold needs moisture and time. Trap wet soil under a poorly sealed barrier, and you can keep the crawl space damp longer than before. Run a dehumidifier before stopping the leak, and you may just be paying to fight incoming water. That math stops working fast.
What parts can I do myself, and when does this stop being a DIY job?
You can handle drainage cleanup, minor grading, downspout extensions, vapor-barrier installation, and basic air sealing yourself if the crawl space is accessible, dry enough to work in, and not contaminated. Stop and bring in qualified help when the problem points to groundwater, structural movement, or a moisture source that cannot be isolated quickly.
Standing water returns after you remove it: that usually means active groundwater or a leak under pressure — you need drainage diagnosis, not repeated pumping. The consequence of waiting is saturation of framing and a much higher mold risk.
You see a horizontal crack, bowing wall, or displaced block in the foundation: that is structural, not cosmetic — do not seal over it and hope. The consequence can be ongoing water entry and worsening movement.
The crawl space has sewage, a dead animal, or extensive visible mold: that is a contamination problem, not a simple drying job — avoid disturbing it and arrange proper cleanup. The consequence of stirring it up is spreading spores or pathogens through the house.
The space is too low, too tight, or too unstable to enter safely: if you cannot work without forcing your body through sharp debris or wet insulation, the job is wrong for DIY — use a pro who has the right access and protective gear. The consequence of a bad access choice is injury and a half-finished repair.
The house has a fuel-burning appliance that depends on crawl-space air: sealing vents or air openings without understanding combustion air can backfire — get the system checked before changing ventilation. The consequence can be unsafe appliance operation.
Moisture is coming from a slab edge, sump, or perimeter drain system: that is a different drainage assembly than a simple vented crawl space — a patch will not fix it. The consequence is recurring wetness after every wet season.
If the crawl space is wet because the design itself is outdated, the right fix may be encapsulation plus drainage, not one weekend of patchwork. Encapsulation means sealing the crawl space from ground and outdoor air with a vapor barrier and controlled humidity. Done badly, it traps problems. Done right, it changes the whole moisture profile of the house.
What mistakes make a wet crawl space worse?
The biggest mistakes are all tempting because they look like progress.
First, people run a fan at a wet crawl space and assume moving air is drying things out. In humid weather, that often pulls in more moisture than it removes. The correct move is to stop the moisture source and control humidity, not just circulate air.
Second, they lay plastic over dirt without overlapping seams or taping them. A barrier with gaps is only slightly better than bare soil. The correct alternative is 6-mil minimum, 12-inch overlaps, and careful sealing at penetrations.
Third, they cover only the center of the crawl space and leave the edges exposed. That bare perimeter still emits moisture and can keep the whole space damp. Run the barrier up the wall several inches where possible and cover the full footprint.
Fourth, they ignore gutters and grading because those fixes seem too ordinary for a serious moisture problem. But a downspout that dumps water next to the footing can overwhelm every interior fix. The correct sequence starts outside.
Fifth, they install a dehumidifier before sealing the crawl space enough to make it effective. That raises the electric bill and may still leave humidity high. The better sequence is leak control, ground cover, air sealing, then dehumidification if needed.
Sixth, they leave wet insulation in place because it “looks mostly fine.” Wet fiberglass can sag, hold dust, and keep the subfloor damp. If insulation is contaminated or waterlogged, it needs removal and replacement rather than wishful thinking.
The cost of these mistakes is not just mold. It is rotten sill plates, swollen subflooring, rusted fasteners, and odors that move into the living space. A crawl space can look like a minor nuisance while it quietly shortens the life of the house.
What if the crawl space is vented, unvented, or very old?
The standard advice changes depending on the crawl space design, and this is where generic articles usually fail. For how fix wet crawl space before mold starts, the design determines whether you vent, seal, or condition.
A vented crawl space in a humid climate is often better treated by sealing the vents, covering the ground, and conditioning the space than by leaving it open to the weather. Open vents can invite humid air during summer and make condensation worse on cooler framing and ducts. The EPA advises checking local conditions and building code requirements, so consult a qualified professional if you are not sure whether your crawl space should be vented or sealed. If you are in a cold climate, vent strategy is still not automatic; the local building approach, insulation layout, and moisture pattern matter.
An unvented crawl space needs the vapor barrier and air sealing done cleanly. If it is already semi-sealed, check the continuity of the barrier around piers, walls, and penetrations. The edge detail matters more than the center of the floor.
An old crawl space with bare earth, no ground cover, and paper-faced insulation is the most likely to smell bad after a rain. That setup usually needs more than spot cleaning. In those homes, I would think in terms of system repair: drain the site, cover the ground, manage humidity, and remove materials that cannot dry fully.
If the crawl space is under a historic house or has fragile framing, be conservative. Do not staple into deteriorated wood without checking its condition, and do not bury signs of decay under fresh plastic. If wood is soft enough to crumble at a screwdriver probe, that is not a moisture-control-only problem anymore.
How long does this take, and what does “fixed” look like?
A small, accessible crawl space can often be stabilized in a day or two if the water source is simple and the materials are on hand. A more involved space with grading work, leak repair, and a full vapor barrier may take several visits across a week or more, especially if you need to wait for rain to confirm the fix. The drying itself can take days, not hours.
A good result looks boring. The musty odor fades. The hygrometer settles below 60% and stays there through normal weather swings. The soil is covered. The wood is dry to the touch and not darkening around the edges. There is no new standing water after rain, and no condensation on ducts or framing. The crawl space should not feel swampy when you open the hatch.
A bad result usually announces itself quickly: humidity stays high, the same corner gets wet again, the plastic billows or tears, or the smell returns after the first storm. That means the fix addressed symptoms but not the source.
If you want one rule to keep in mind, it is this: a crawl space is not dry because it has a fan in it. It is dry because water is kept out, soil vapor is blocked, and the remaining humidity is controlled.
What should I check after the first heavy rain?
You should check the crawl space, the downspouts, and the humidity reading after the first substantial rain because that is the first real test of your fix. Look for fresh puddles, new staining, drips at pipe penetrations, and any rise in humidity above your target. If the perimeter stays dry and the hygrometer remains under control, the crawl space is moving in the right direction, and how fix wet crawl space before mold starts is working as intended.