Crawl Space Mold: Causes, Risks, and What to Do Next
Last updated: September 10, 2026
Key Takeaways
- Check whether the crawl space stays above roughly 60% relative humidity for long stretches.
- Place a hygrometer in the crawl space, wait 15 to 30 minutes, then compare the reading with the living area.
- Leave access open long enough for drying — usually at least 24 to 72 hours for a small damp area, and longer when the crawl space is saturated.
- Relative humidity above about 60% makes mold much easier to grow; many building specialists aim lower because it leaves less room for condensation.
- For crawl space mold: causes, risks, what to do next, start with the moisture source, then move to drying and repair.
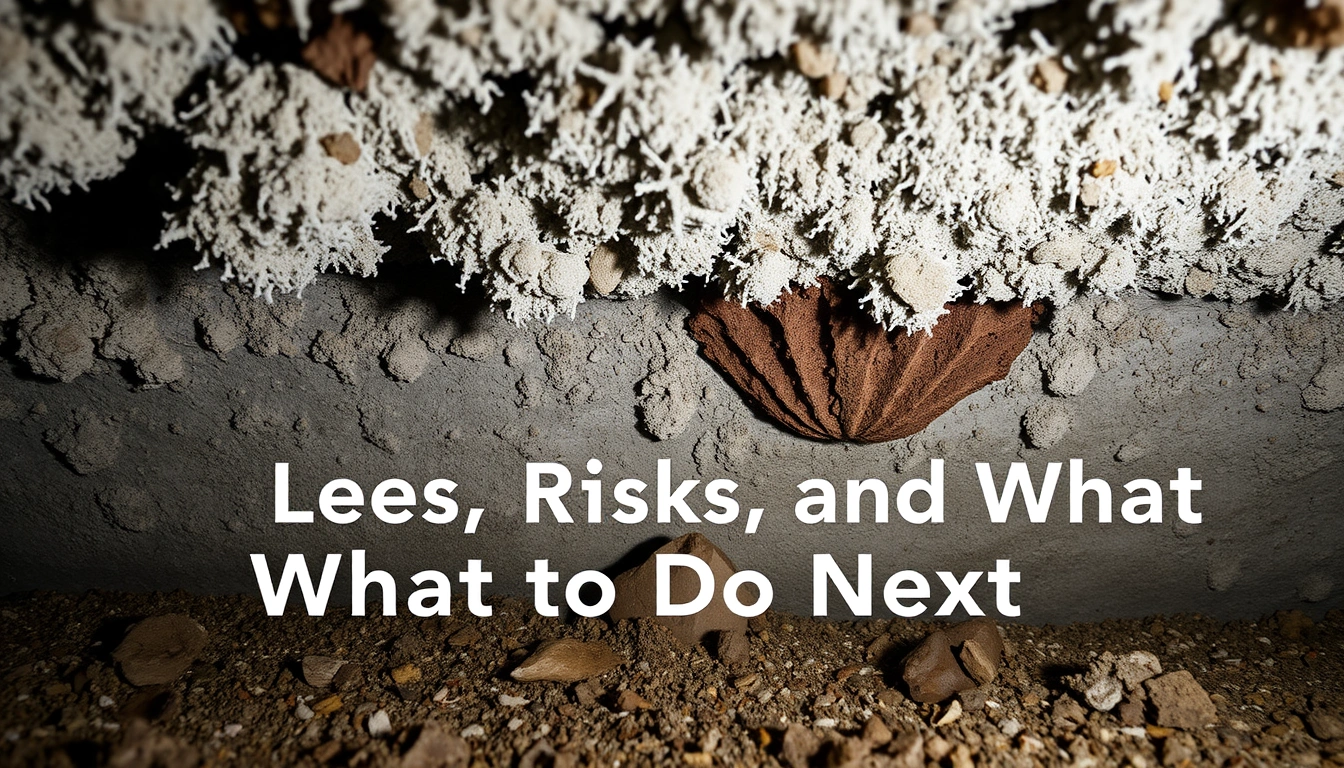
Crawl space mold: causes, risks, what to do next is the practical question here. Moisture is hanging around in the lowest part of the house long enough for mold to grow on wood, insulation, paper facing, or stored debris. Catch a musty odor, visible growth on joists or subfloor, or damp soil under the house? Then the mold is usually not the main issue — the water or humidity feeding it is.
Who this applies to — and who should stop here
This is for a homeowner or landlord who can get into the crawl space, see what is happening underneath, and decide whether the job is simple cleanup, a moisture fix, or something for a mold contractor or structural pro. It assumes you already know the crawl space is vented or has a vapor barrier, and that you are willing to inspect for standing water, leaks, and damaged materials. I am not writing for someone trying to prove a mold diagnosis from a photo alone; honestly, that is a poor use of time.
A sewage backup, widespread visible mold over more than a few square feet, sagging floors, rotten framing, or electrical hazards? That is not a basic DIY cleanup. The next step is a qualified remediation contractor, a plumber if there is an active leak, or a structural engineer if the floor framing looks compromised. The same goes for any home where someone has asthma, severe allergies, or is immunocompromised and the mold is extensive. In those cases, the question is not “how do I wipe this off?” but “how do I stop exposure and fix the moisture source safely?”
A careful inspection only needs a few basics: a flashlight, gloves, a mask rated N95 or better for dusty conditions, a screwdriver or probe for testing soft wood, and ideally a hygrometer to read humidity. Not sure whether the crawl space is vented, encapsulated, or insulated on the subfloor? Fine. You can still inspect. What matters is whether the space is wet, moldy, and drying poorly. Simple. Not easy.
What causes mold in a crawl space?
Excess moisture causes mold in a crawl space, and the usual sources are bulk water, humid air, and ground moisture. Mold spores are already in outdoor air and house dust. They only become a visible problem when the crawl space stays damp long enough. Relative humidity above about 60% gives mold a much easier time; many building specialists aim lower because it leaves less margin for condensation. The U.S. Environmental Protection Agency also advises fixing moisture problems quickly and drying wet materials within 24 to 48 hours when possible. EPA mold cleanup guidance
The causes are ordinary, which is almost the annoying part. A gutter dumping next to the foundation can soak the perimeter soil. A bad downspout extension can send water under the house after every rain. Plumbing leaks may drip slowly enough that nobody notices until insulation is stained and joists are spotted. Groundwater can push in through cracks or an unsealed wall. In some houses, the crawl space is simply pulling in hot, humid outdoor air through vents, and that air condenses on cooler framing and ducts. The building science term is condensation: water forming on a surface when the air touching it cools below its dew point, the temperature at which air can no longer hold all its moisture. See also the crawl space vapor barrier guide and crawl space encapsulation overview.
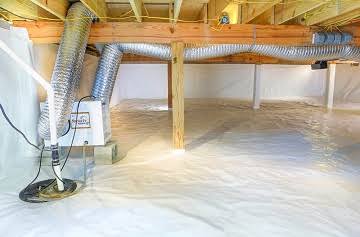
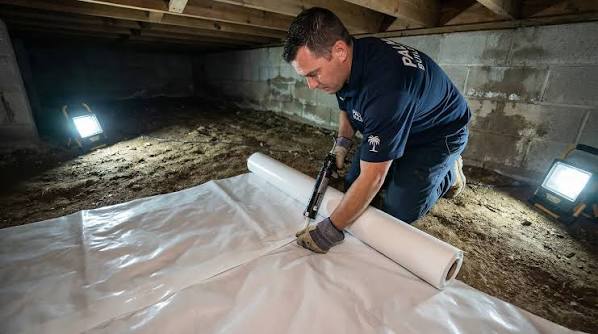
A generic article often gets this wrong by treating mold as the root problem. It usually is not. It is the symptom. Clean the mold but skip drainage, vapor control, or ventilation strategy, and it comes back. If the crawl space floor is bare soil, a 6-mil polyethylene vapor barrier can help reduce ground moisture, but consult a qualified crawl space contractor or building professional before installing it, because it is not a cure for a plumbing leak or a flooded foundation. Wet, hanging insulation is another trap; it can hold moisture like a sponge and feed growth.
Look for patterns. Mold on the north side of framing often points to cooler surfaces and condensation. Mold concentrated under a bathroom or kitchen often suggests a plumbing leak. Mold on the underside of subfloor near the perimeter often points to outside water entry or humid air infiltration. That pattern tells you more than the color of the growth ever will.
How do I tell if it is mold, moisture, or both?
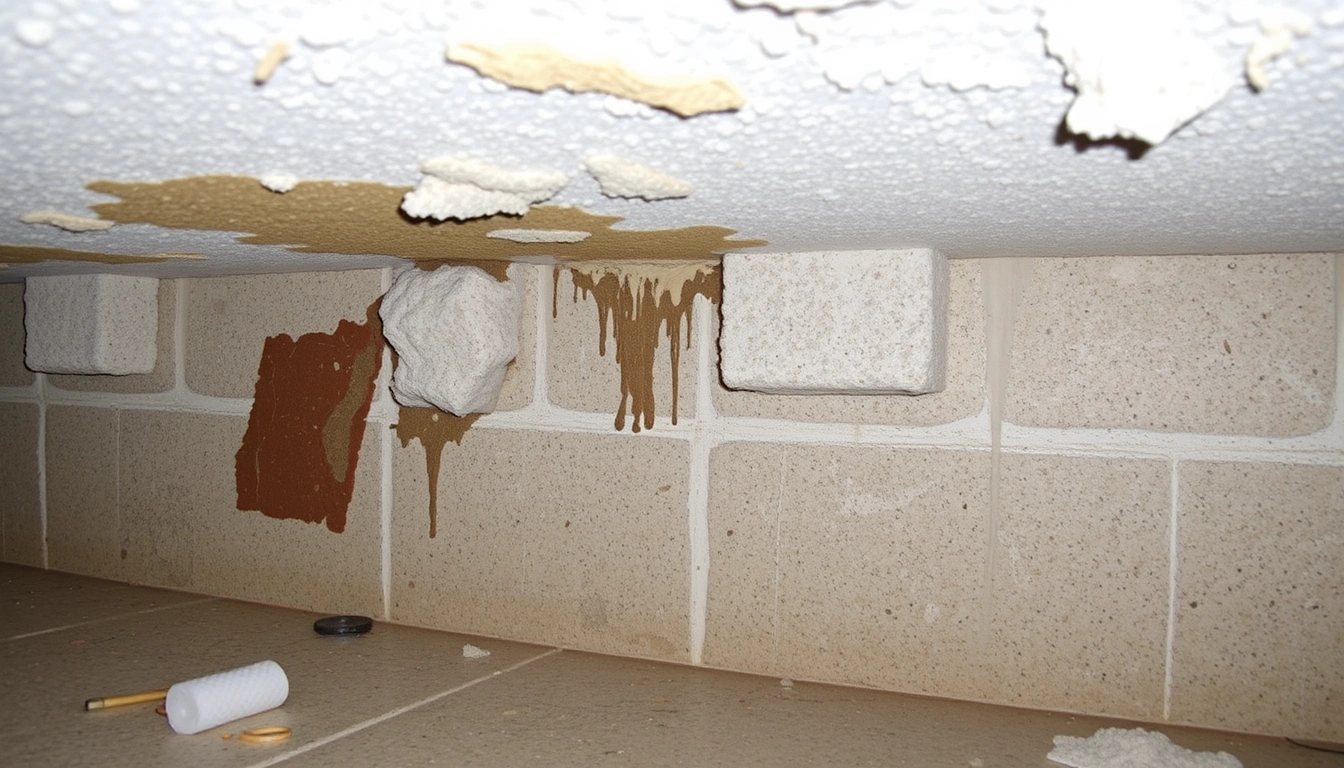
Usually, it is both. Mold needs moisture to show up. The practical move is to inspect for visible growth, dampness, staining, odors, and material damage — not to wait for a lab result before acting. When the crawl space smells earthy or musty as soon as the access door opens, that is already a clue. If joists feel cool and damp, if the soil is wet, or if insulation has dark spotting, the environment is wrong even before you name the species.
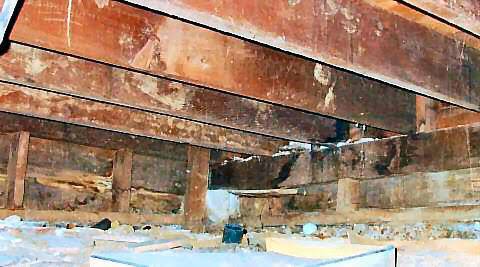
Start with the easy signs. White, gray, black, or green patches on wood or paper-faced insulation can be mold, mildew, or dirt; the difference matters less than whether the material is wet, spreading, or soft. Press a screwdriver into suspect wood. Firm wood can often be dried and cleaned. Soft, punky wood that the tip sinks into is a different issue, because decay fungi may be present and the member may be losing strength. A moisture meter helps here: if a framing member is reading persistently high compared with nearby dry lumber, the source has not been solved yet. I would not lean on a single reading, though, because surface wetness can throw it off.
Pay attention to HVAC ductwork if it runs through the crawl space. Condensation on ducts can drip onto soil or framing and set off a chain reaction. Insulated ducts with torn outer jackets are common trouble spots. Also check the vapor barrier, if one exists. A barrier that is torn, unsealed at seams, or punctured around piers does not do much good. The crawl space humidity guide explains common readings and warning signs.
A lab test for mold species is rarely the first move in a crawl space. The immediate questions are: is the area wet, where is the water coming from, and is any structure damaged? If the answer to those is still unclear, a moisture inspection from a building pro is usually more useful than a species report. More information can be a red herring here.
What should I do next, step by step?
The order matters: stop the water, document the damage, dry the space, remove contaminated porous material that cannot be saved, and then keep the moisture from returning. Skip the first step, and people spend a weekend cleaning mold that simply grows back.
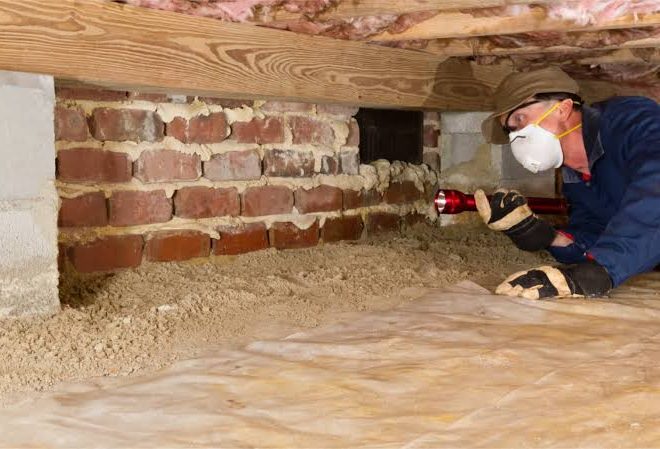
- Inspect the crawl space in daylight with a flashlight and mask. Open the access, run a flashlight along the sill, joists, subfloor, ducts, insulation, and soil, and note any wet areas, staining, or visible growth. Check whether the smell gets stronger near one corner or under a fixture. A problem is indicated by standing water, active dripping, or wood that looks swollen.
- Find the moisture source before cleaning. Look at plumbing lines, AC condensate drains, foundation vents, downspouts, grading, and sump discharge. See whether water enters after rain or after the HVAC runs. Check whether the crawl space is getting wet from above, below, or the sides. A problem is indicated if you cannot connect the mold to a source; that usually means the source has not been found yet.
- Measure humidity and compare areas. Put a hygrometer in the crawl space and note the reading after 15 to 30 minutes, then compare it with the living area. Check whether the crawl space stays above roughly 60% relative humidity for long periods. A problem is indicated if humidity stays high even when it has not rained; that suggests ongoing moisture entry or poor air control.
- Remove standing water and wet debris. Use a pump, wet vac, or absorbent materials, and clear cardboard, old lumber, and other porous trash first. Make sure the floor is no longer slick or visibly wet. A problem is indicated if water returns within hours, which points to active intrusion or groundwater.
- Dry the space with airflow and dehumidification. Run fans to move air across surfaces and use a dehumidifier sized for the space if power is available. Keep access open long enough for drying — usually at least 24 to 72 hours for a small damp area, longer for a saturated crawl space. Confirm that surfaces are drying and humidity is falling. A problem is indicated if damp spots remain cool and wet after a full day.
- Clean non-porous and lightly contaminated surfaces. Scrub framing or masonry with a detergent solution, then wipe dry. For exposed wood, clean only after the moisture source is controlled. Make sure visible residue is gone and the surface is drying normally. A problem is indicated if the staining is deep, fuzzy growth returns, or the wood stays soft.
- Remove materials that cannot be saved. Pull out moldy fiberglass batts, cardboard, paper-faced insulation, and debris that is soaked through. Check that the cavity is open and able to dry. A problem is indicated if insulation is packed with moisture or the paper facing is disintegrating; those materials should not be left in place.
- Fix the cause permanently. Extend downspouts, correct grading, repair plumbing, seal obvious entry points, and consider a properly detailed vapor barrier or encapsulation strategy if the site calls for it. Check after the next rain that the space stays drier. A problem is indicated if mold returns after cleaning, which means the source control failed.
If the crawl space is heavily contaminated or the wood is visibly deteriorated, stop after step 2 or 3 and bring in qualified help. Drying a failed framing assembly is not the same as fixing it. The crawl space drainage article and crawl space structural repair page can help you decide what belongs to a contractor.
When should I stop and call for help?
Stop DIY work when the crawl space is actively unsafe, structurally suspect, or contaminated beyond light cleanup. That is not alarmism; it is the point where the task shifts from maintenance to remediation or repair.
Standing water deeper than a few inches: This means there is an active entry point or failed drainage — pump it out only if you can do so safely, then call a plumber, drainage contractor, or foundation specialist.
Soft, punky, or sagging wood: This means framing may be decaying or overstressed — stop cleaning and get a structural evaluation.
Visible mold over a large area, or mold on multiple surfaces: This means the contamination is more than a small surface issue — use a remediation contractor rather than a bucket and scrub brush.
Sewage odor or a known waste line leak: This means there may be biological contamination beyond mold — do not clean it as a normal mold job; call a licensed plumber and a remediation company.
Electrical equipment, open junction boxes, or wet wiring: This means shock risk — do not enter until power is isolated and an electrician has checked it.
Anyone in the home is reacting strongly to the odor or spores: This means exposure control matters right away — limit entry and bring in help instead of stretching the cleanup over several days.
I would also stop if the crawl space is too low or too cramped to move safely. A 14-inch-high space with sharp debris and hidden nails is not a place to force a long cleanup. If you cannot inspect every section without crawling through wet soil, the job may need proper containment and cleanup equipment. The cost of pushing through is a torn vapor barrier, a back injury, or missed damage.
The mistakes people make with crawl space mold
The most common mistake is cleaning before fixing the water source. That gives you a tidy crawl space for a few weeks and a worse return problem later. The correct alternative is to trace the moisture first, then clean.
Another mistake is sealing vents or adding plastic without understanding the house. In some climates and assemblies, random vent blocking can make humidity worse, not better. The correct alternative is a moisture strategy that fits the foundation, insulation, and local weather pattern, not a one-size-fits-all patch.
A third mistake is leaving wet fiberglass insulation in place because it does not look filthy. Wet insulation loses performance, holds dust, and can stay damp long enough to feed mold. The correct alternative is to remove saturated or moldy batts and replace them after the space is dry.
A fourth mistake is using bleach on porous wood as if it were a cure. Bleach can discolor the surface, but it does not reach deeply into wood grain or solve moisture. Consult a qualified mold remediation professional if you are unsure, because EPA guidance emphasizes drying and cleaning rather than relying on bleach alone. The correct alternative is detergent cleaning on hard surfaces, followed by drying and source control. If staining remains, that can happen after the active growth is gone.
A fifth mistake is ignoring the soil. Bare, damp soil is a moisture reservoir. If the crawl space floor is earth, a properly lapped and sealed vapor barrier often matters more than any cleaner you buy. A torn 6-mil sheet with loose seams is only half a fix, though, and a thin sheet thrown down around piers is often just window dressing. The crawl space mold removal guide covers what porous materials can and cannot be cleaned.
What does a good result look like?
A good result is not “the mold is gone” by itself. It is a crawl space that stays dry enough to stay quiet. The smell fades, the wood is not damp to the touch, the hygrometer no longer sits in the high range for days, and no new spotting appears after a rain. If there was a leak, the repair holds. If there was soil moisture, the barrier and drainage system actually interrupt it. If there was condensation, the crawl space is no longer collecting water on cold surfaces.
I judge success by stability over time, not by a single clean photo. After cleanup, the space should remain inspectable, not hidden behind fresh odor or matted insulation. Come back after 1 heavy rain and the floor is still dry? That is a meaningful sign. If the humidity and smell bounce right back, the job was only halfway done. For a deeper comparison, see the crawl space vs. basement guide.
One limitation is worth saying plainly: some crawl spaces can be improved without a full encapsulation, and some cannot. A house with chronic groundwater, poor grading, and repeated condensation may need a larger rebuild of the moisture control system. That is the part many generic articles skip, because it is less satisfying than a simple checklist. But it is the part that determines whether crawl space mold stays gone.