What Is Crawl Space Encapsulation and How Does It Work?
Last updated: September 10, 2026
Key Takeaways
- A sensible working range is often below 60% relative humidity.
- Recheck after the first heavy rain and again after 30 days.
- The correct alternative is a simple hygrometer check during the first 30 days and after major weather changes.
- A crawl space is usually shallow enough that you move through it crouched or on hands and knees, often with 18 to 48 inches of clearance.
Table of Contents
- Who crawl space encapsulation is for
- What crawl space encapsulation actually does
- How does crawl space encapsulation work, step by step?
- What should I check before I decide to encapsulate?
- When should I stop and call in help instead?
- The mistakes people make with crawl space encapsulation
- What changes in edge cases?
A crawl space can turn a house’s underbelly into a damp mess fast. Crawl space encapsulation is the fix many people consider when that happens: it seals a vented, moisture-prone crawl space so ground vapor, outside air, and pests have a much harder time getting in. If you own a home with a dirt or partially exposed crawl space, what is crawl space encapsulation how does it work is the basic idea you are trying to understand before deciding whether the job makes sense.
Who crawl space encapsulation is for
Recurring dampness. Musty smells. Rot risk. Mold. Higher indoor humidity that seems to start below the floor. Those are the usual signals. I am talking about a crawl space with exposed soil or a thin vapor barrier that is doing very little. In that setting, what is crawl space encapsulation how does it work can change the crawl space from a moisture source into a controlled part of the building envelope.
Not every house needs it, though. If the crawl space floods after heavy rain because drainage is poor, deal with the water entry first. And if there is standing water, major mold on framing, sagging floors, termite damage, or active structural movement, encapsulation alone is the wrong tool. That combination can mean drainage work, structural repair, pest treatment, or all three; call a professional before you seal anything.
A crawl space is not a basement. Simple enough, right? It is usually shallow enough that you move through it crouched or on hands and knees, often with 18 to 48 inches of clearance. That cramped height matters because the work is awkward, air movement is poor, and damage can sit hidden for years.
The goal is not to “dry out” the crawl space by hoping outside air helps. In humid climates, venting often drags in warmer, wetter air that condenses on cooler surfaces. What is crawl space encapsulation how does it work flips that logic. It blocks ground moisture, seals air leaks to the outside, and usually pairs the space with controlled dehumidification or supply air so humidity stays in a safer range. For guidance on indoor humidity and moisture control, I would point readers to the U.S. EPA’s moisture resources and to local building code language that may differ by climate zone, including standards such as the IRC.
What crawl space encapsulation actually does
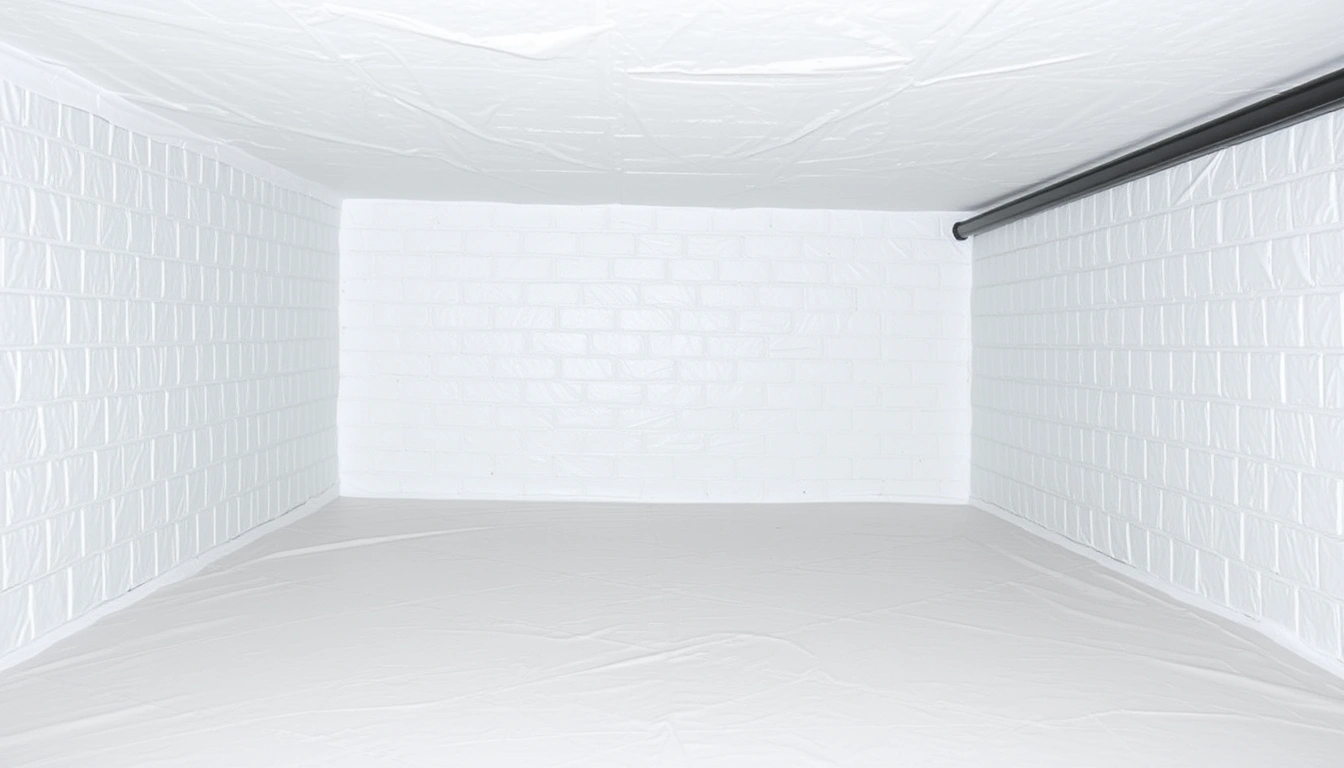
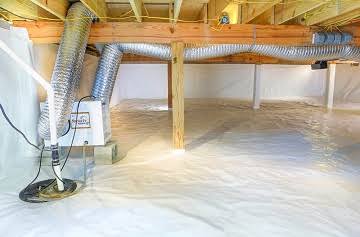
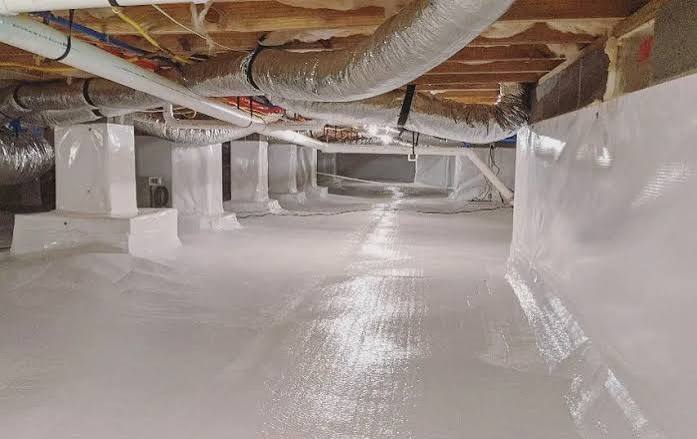
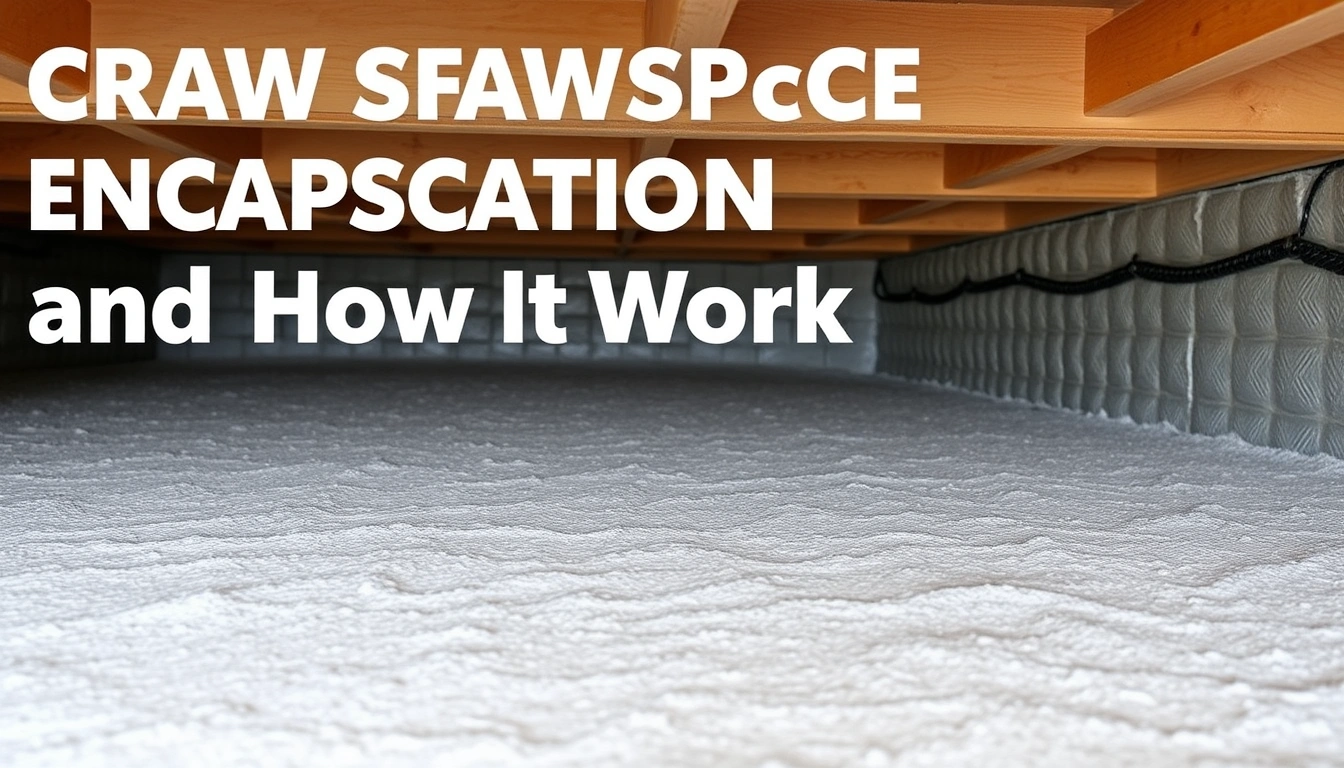
This is not just “putting plastic on the dirt.” Crawl space encapsulation uses layers: a ground vapor barrier, sealed seams, sealed walls or foundation edges, closed vents or other exterior openings, and a plan for humidity control. Sometimes insulation, drainage correction, or a sump pump gets folded in too.
First comes the soil moisture. Bare ground in a crawl space keeps releasing water vapor into the air, quietly and nonstop. A 6-mil sheet from a hardware store is not enough for most long-term jobs; I would expect a heavier reinforced liner, often 12 mil or thicker, with seams overlapped and sealed. That liner should cover the floor and, in many systems, run up the foundation walls several inches so the barrier stays continuous. Thin plastic? Not enough. It tears like wet paper.
Then comes air control. If the crawl space has open vents, those openings are usually sealed or converted according to the climate and code approach being used. The point is to stop humid outside air from replacing the drier air you are trying to keep. Any gaps around plumbing penetrations, ducts, wiring, or the sill plate should be sealed with compatible materials, not stuffed loosely and forgotten.
Humidity still has to be managed. What is crawl space encapsulation how does it work does not magically remove every gallon of moisture from the space. A sealed crawl space often needs a dehumidifier sized for the volume of the area, or mechanical supply air as allowed by code and climate. In practice, many contractors aim for a relative humidity below about 60%, because mold growth becomes much more likely as humidity stays high. That target is a general moisture-control goal, not a universal legal standard.
Done well, the crawl space smells less earthy, feels less clammy, and is less likely to feed mold, rot, and pests. Done badly, it traps water against the structure, hides leaks, or leaves seams open so the system fails quietly.
How does crawl space encapsulation work, step by step?
What is crawl space encapsulation how does it work is built by creating one continuous moisture barrier and then controlling the air inside it. Sequence matters here. Skip a step, or do them out of order, and you trap problems instead of solving them.
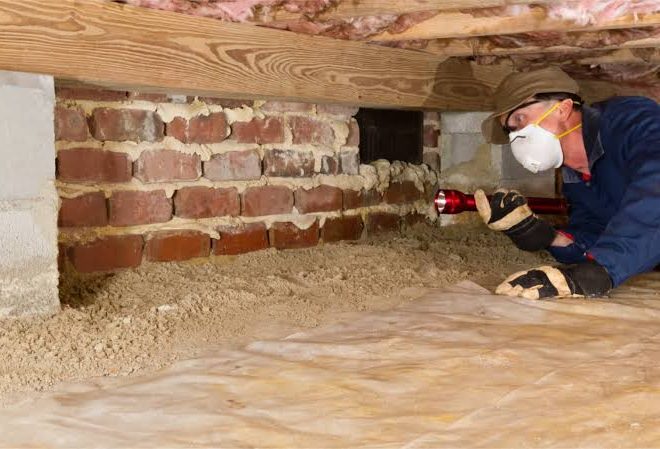
- Inspect the crawl space and map the problem areas. Check the full perimeter, center supports, plumbing, ductwork, and rim joist for damp soil, staining, mold, wood decay, rust, pest activity, and any standing water. Measure clearance height in several places and note vents or open chases. What you verify: where the moisture is coming from and whether the structure is sound enough to seal. What indicates a problem: active water entry, widespread fungal growth, or wood that crumbles when probed.
- Fix bulk water before sealing. Clear gutters, extend downspouts at least 4 to 6 feet away from the foundation if site conditions allow, and correct grading so soil slopes away from the house. If water still enters, add perimeter drainage or a sump system before encapsulating. What you verify: no water pooled after rain. What indicates a problem: the crawl space still gets wet after the exterior fix.
- Remove damaged materials and loose debris. Pull out old torn plastic, wet insulation that has lost its shape, wood scraps, and organic debris. If local code or the condition of the space calls for it, clean contaminated surfaces and address mold properly. What you verify: exposed soil and framing are visible enough to install a continuous liner. What indicates a problem: hidden saturated areas remain under debris.
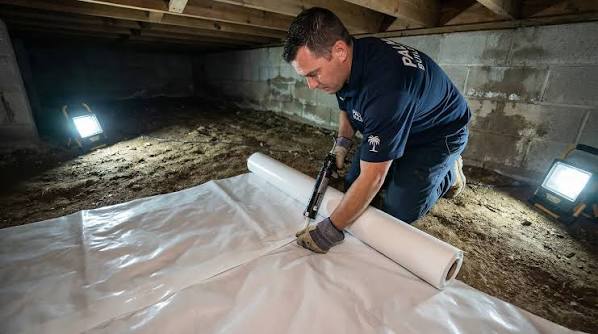
- Install a heavy vapor barrier on the ground. Lay a reinforced liner of about 12 to 20 mil thickness, overlapping seams by 12 inches or more and taping or sealing them with the system’s approved tape or adhesive. Extend the liner up piers and walls as required, and fasten it mechanically where appropriate. What you verify: there are no open seams, tears, or gaps at corners and around posts. What indicates a problem: the liner bridges over uneven ground, leaving voids where water can collect.
- Seal vents, cracks, and penetrations. Close foundation vents, seal the sill plate edge, and seal around pipes and ducts with materials suited to masonry and framing. Some homes use rigid foam, spray foam, or purpose-made vent covers depending on the details. What you verify: outside air cannot move freely through the crawl space. What indicates a problem: you can feel drafts or see daylight at edges and openings.
- Address insulation in the right place for the climate and code. In many encapsulated crawl spaces, insulation belongs on the foundation walls rather than hanging from the joists. The exact R-value depends on climate zone and local code; common wall assemblies use rigid foam boards or spray foam in approved combinations. What you verify: the insulation is continuous and not falling onto the liner. What indicates a problem: fiberglass batts are exposed to the crawl space air and absorbing moisture.
- Add humidity control and monitor it. Install a dehumidifier sized for the crawl space volume, or use another approved conditioning method, then check a hygrometer after 24 to 72 hours. A sensible working range is often below 60% relative humidity. What you verify: the space holds steady humidity instead of spiking after rain or humid weather. What indicates a problem: humidity remains high, which usually means air leakage, standing water, or undersized equipment.
- Recheck after the first heavy rain and again after 30 days. Look for condensation on framing, lifted liner edges, musty odor, or water intrusion at the perimeter. What you verify: the system stayed sealed through changing weather. What indicates a problem: seam failure, hidden drainage issues, or a leak that was missed on day one.
I would follow that order because what is crawl space encapsulation how does it work is unforgiving. A perfect liner cannot fix a foundation leak, and a dehumidifier cannot dry soil that is still exposed to air. That math stops working fast.
What should I check before I decide to encapsulate?
Start with water, not the liner. Ask whether the crawl space is being fed by drainage, air, or both. That split decides whether encapsulation is the right move or a bad idea wearing a renovation hat. I would look at three things first: drainage, structure, and humidity patterns.
Begin outside. If downspouts dump water near the foundation or the grade slopes toward the house, those are easy exterior problems with big consequences. A crawl space that sees puddles after storms usually needs water management before any liner is installed. If there is a sump pit already, make sure it actually discharges safely and that the pump is not cycling because of a continuous inflow problem. For nearby fixes, see /gutter-repair/ and /foundation-drainage/.
Then check the structure. Rotten sill plates, termite tunnels, or failing piers can get hidden if you rush into encapsulation. Moisture control is not structural repair. If the floor above feels soft or slopes noticeably, that is a separate diagnosis. For related help, see /foundation-repair/ and /termite-treatment/.
Now look at the air. Humidity that rises on muggy days and drops in dry weather often points to outside air infiltration through vents and gaps. But humidity that stays high even when the weather is dry may mean the soil is wet or there is a plumbing leak. A simple digital hygrometer, which is a meter that reads relative humidity, can tell you whether the crawl space is consistently above about 60%. If it is, I would not shrug it off.
There is also a code question. The International Residential Code has specific language for unvented crawl spaces in many editions, and local jurisdictions can modify it. In plain terms, the way you seal, insulate, and condition the space may need to follow local requirements. That is one place where “good enough” can become expensive later if you ever open walls, sell the house, or inspect for financing. For the code side, the IRC and your local building department are the right references. For room-by-room moisture issues, see /mold-remediation/ and /indoor-air-quality/.
When should I stop and call in help instead?
Stop when the crawl space has active water, visible structural damage, or conditions that make sealing unsafe or pointless. What is crawl space encapsulation how does it work is a moisture-control method; it is not a cure for every crawl space problem.
Standing water after rain: This means bulk water is entering faster than the space can dry — fix drainage, install a sump or perimeter drain, and do not seal over the problem.
Rotten or sagging framing: This means the crawl space may have load-bearing damage — get structural repair first, because a liner will not hold up the house.
Extensive mold on joists or subfloor: This means moisture has already supported fungal growth — clean and remediate the cause before encapsulating, or the growth will come back.
Termite activity or old mud tubes: This can mean pests have used the crawl space as an entry path — treat the infestation and inspect damage before closing the space in, and consult a pest professional if you are not sure what you are seeing.
HVAC ducts or plumbing leaks: This means the crawl space may be feeding hidden moisture into the entire house — repair the leaks first, because encapsulation around a leak is just a way to trap it.
Low clearance, uneven ground, or buried debris: This means the space is physically hard to seal well — mechanical access and prep may require a specialist, or the liner will fail at seams and corners. See /crawl-space-cleanup/ and /crawl-space-repair/.
If any of those are present, the right next step is not to push ahead with plastic and tape. Correct the underlying problem first, then revisit encapsulation once the space is stable. Better to pause than to spend twice.
The mistakes people make with crawl space encapsulation
The biggest mistake is treating what is crawl space encapsulation how does it work as a cosmetic job. A clean white liner looks finished even when the space is still wet. Then the failure stays hidden: mold, odors, and wood decay keep going behind the barrier. The correct approach is to solve drainage and leaks first.
A second mistake is using thin sheet plastic. A 6-mil film can tear during installation and at seams. The consequence is punctures and air leaks that are hard to see later. The better choice is a heavier reinforced liner, usually 12 mil or more, installed with proper seam tape or adhesive.
A third mistake is leaving vents open because “airflow is good.” In a humid climate, that often brings in more moisture than it removes. Condensation follows. So does a clammy crawl space that never really settles down. The correct alternative is to follow a sealed or code-approved unvented approach.
A fourth mistake is insulating the wrong surface. Hanging fiberglass batts from the floor joists in a damp crawl space can trap moisture and fall down over time. The consequence is reduced thermal performance and a soggy, mold-prone assembly. The better approach is usually wall insulation designed for crawl space conditions.
A fifth mistake is forgetting to monitor humidity after the job is done. Then a failed dehumidifier or small leak goes unnoticed for months. The correct alternative is a simple hygrometer check during the first 30 days and after major weather changes.
A sixth mistake is sealing around a pump, drain, or access panel without thinking about service access. The consequence is that future repairs require tearing into finished work. The right alternative is to build in access points and maintainable panels from the start.
What changes in edge cases?
What is crawl space encapsulation how does it work needs changes in wet climates, flood-prone areas, and homes with very low crawl space clearance. Standard practice does not fit every site.
In a hot-humid climate, sealing and dehumidifying are usually central because outside air often carries more moisture than the crawl space can safely absorb. In a mixed or cold climate, wall insulation and vapor control need to be coordinated carefully so you do not create condensation on the wrong surface. The building code path can differ by climate zone, so I would not copy a detail from one region into another without checking local requirements. For regional context, see /crawl-space-insulation/ and /dehumidifier-installation/.
Clay soil or a high water table changes the picture too. The liner may need extra protection, and the site may need drainage work before encapsulation. Soil that stays wet pushes vapor hard against the barrier, so a professional evaluation can save time and rework. See /sump-pump-installation/ and /basement-waterproofing/.
What is crawl space encapsulation how does it work is usually most effective when the crawl space can be made dry, sealed, and serviceable. When the site conditions are too aggressive, the right answer may be a drainage-first project, not a liner-first one. The U.S. EPA’s moisture guidance and the International Residential Code are useful starting points, but local conditions still decide the final detail.