Crawl Space Insulation Problems: Signs Yours Needs Replacement
Last updated: September 10, 2026
Key Takeaways
- Open the hatch or door and wait 2 to 3 minutes.
- Use a flashlight and look for brown edges, mineral residue, or dark bands 6 to 12 inches above the floor of the insulation.
- Recheck after 24 to 48 hours of normal conditions and again after a storm if you can do so safely.
- A crawl space insulation problem is usually not about the insulation alone.
Sagging batts. Moldy corners. Wet patches. Once crawl space insulation starts dropping out of place, replacement may be the right move — but I would not call it from one clue alone. Crawl spaces can influence indoor air, moisture, and pests, so a qualified insulation or building professional is worth talking to before anything gets ripped out. The U.S. Environmental Protection Agency notes that crawl spaces can contribute to moisture problems, and ENERGY STAR emphasizes keeping insulation dry and properly installed.
What this article applies to
This applies to homeowners or property managers who already know their crawl space has insulation — usually fiberglass batts, rigid foam board, or spray foam — and want to tell the difference between surface damage and insulation that is no longer doing its job. I am assuming you can safely access the crawl space, recognize obvious wetness, and tell whether the insulation is hanging, compacted, or missing in patches. I am not assuming you can diagnose a moisture source, measure vapor drive, or decide whether the crawl space should be vented or sealed; if those questions come up, consult a qualified professional. Those details matter.
A crawl space insulation problem is usually not about the insulation alone. Moisture is usually the real driver: damp soil, a plumbing leak, condensation on ducts, or outside air slipping through vents. Fiberglass batts, for example, lose performance when they are compressed, contaminated, or soaked. Down there, they often hang below the joists on wires or netting, and once they sag or fall, the thermal boundary breaks. Rigid foam and spray foam fail in different ways; they can pull away, crack, or hide a leak behind them. ENERGY STAR and the U.S. Department of Energy both stress matching insulation performance to moisture conditions.
This is not a case where I would tell someone to “just replace it” because replacement can trap a moisture problem if the source is still active. That is why I think the right question is not “Is the insulation old?” but “Has the crawl space insulation been damaged enough that it no longer belongs there, and why?”
How do I know crawl space insulation needs replacement?
You know crawl space insulation needs replacement when the material has lost shape, dried out with stains or residue, smells musty after the space has been closed for a while, or shows repeated damage in the same areas. Those signs matter more than age alone. A 15-year-old crawl space installation can still be serviceable; a 5-year-old one can be ruined if water or air movement has been beating on it. The EPA and ENERGY STAR both treat persistent moisture as a warning sign, not a cosmetic issue.
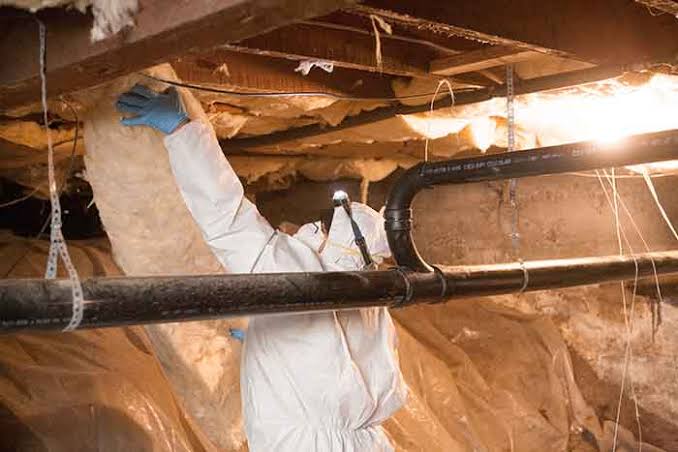
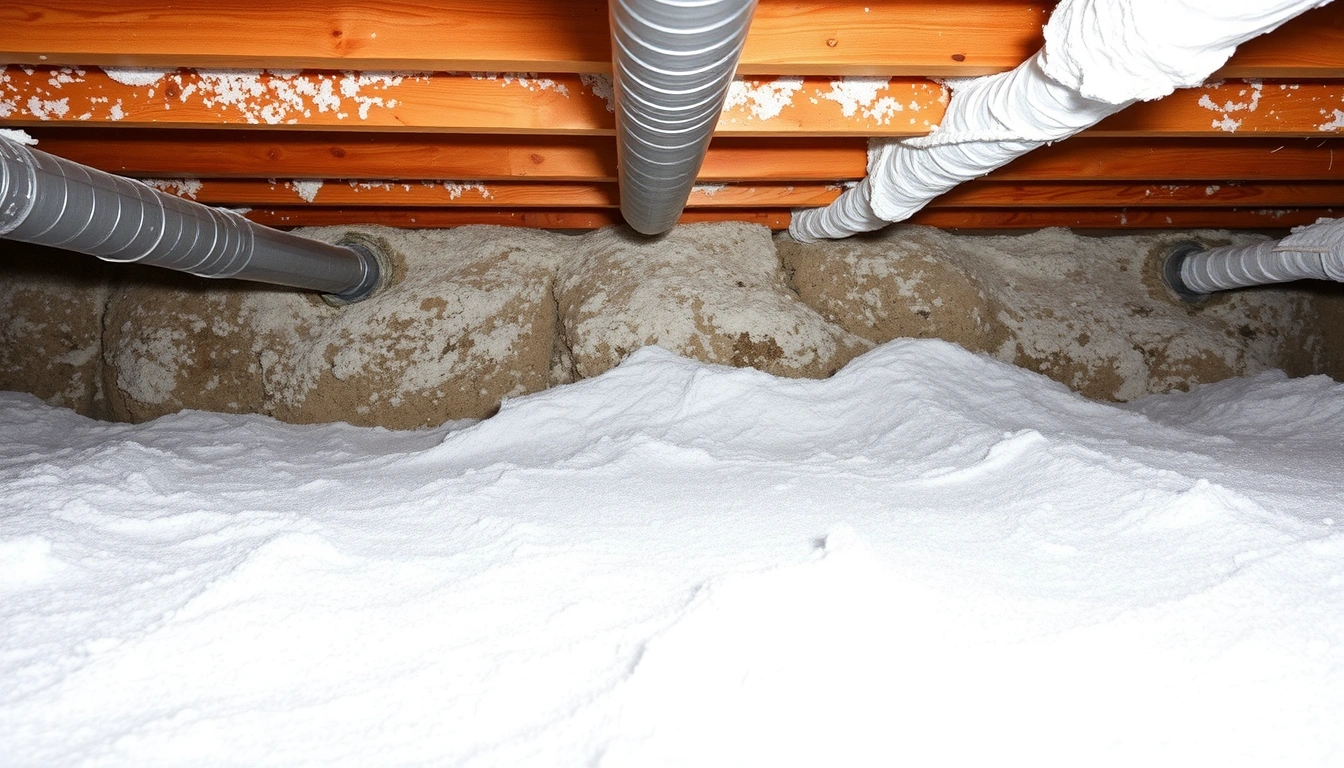
Start with the material itself. Fiberglass batts should stay in contact with the subfloor side of the joists, not drape like a blanket or hang in scallops. If they are matted, darkened, crusted, or torn around seams, they are often contaminated enough that patching is a poor use of time. I would treat visible mold growth, repeated wetting, or rodent nesting as strong reasons to replace, not repair, and if you are unsure, consult a professional. Mold in building materials is a building problem and a health concern; if anyone in the home has asthma, allergies, or immune issues, I would be especially careful and speak with a qualified professional.
Here is the order I would use to judge the crawl space.
- Start at the access point and check the smell before you touch anything. Open the hatch or door and wait 2 to 3 minutes. Verify whether you smell damp earth, mildew, or sewer-like odor. A persistent odor that remains after ventilation is a warning sign; no odor does not prove the insulation is fine.
- Look across the full run of joists, not just the first bay. Scan at least 3 to 4 joist bays in different parts of the crawl space. Verify whether insulation is continuous or missing in strips. A patchy pattern often points to wind washing, pests, or prior water intrusion.
- Check for sagging and compression. Fiberglass batts that hang more than a few inches below the joists, or are compressed tight against pipes and wiring, have reduced effective thickness. Verify whether the insulation still fills the cavity evenly. If it hangs loose, the install detail has failed even if the material is not visibly dirty.
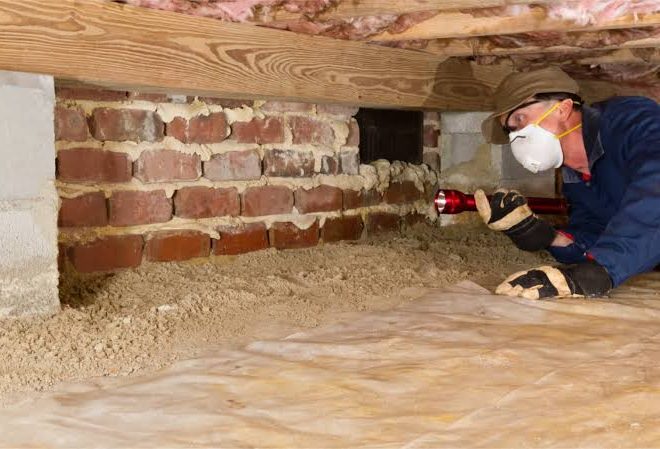
- Inspect for water staining and tide lines. Use a flashlight and look for brown edges, mineral residue, or dark bands 6 to 12 inches above the floor of the insulation. Verify whether the staining is localized or repeated. Repeated staining usually means the moisture source is ongoing.
- Check the subfloor side and the fasteners. Pull gently on loose edges and look for corroded staples, fallen supports, or torn paper facings. Verify whether the material stays attached or drops away. If the facing tears easily or the batt slides out, the assembly is failing.
- Look for pests and nests. Rodent droppings, shredded paper, and tunnel paths in insulation are not cosmetic issues. Verify whether you see active nesting, chewed vapor barriers, or burrowed paths. Once insulation is used as nesting material, replacement is usually cleaner than cleaning.
- Check humidity-related clues on metal and wood. Condensation on ducts, rust on fasteners, or darkened joists suggest the crawl space is staying too damp. Verify whether the problem is isolated or widespread. If wood appears soft or fungal growth is visible on framing, insulation replacement alone will not solve the underlying issue.
- Confirm whether the damage repeats after a rain or plumbing use. Recheck after 24 to 48 hours of normal conditions and again after a storm if you can do so safely. Verify whether the same areas get wetter, smell worse, or sag again. Repetition is the clearest sign that the insulation is being damaged by a live moisture problem.
I would be cautious about any crawl space insulation that is damp to the touch. A material can look dry on the surface and still carry moisture inside the fibers or behind the facing. If the insulation was soaked, fell, or grew mold repeatedly, replacement is usually more sensible than trying to rescue it.
What kind of damage is normal, and what means replacement?
Minor dust, a few loose ends, or one small tear does not automatically mean replacement. Crawl spaces are rough environments, and not every defect changes performance enough to justify full removal. What matters is whether the damage is isolated or systemic.
A small gap at one pipe penetration is a seal issue. A whole row of batts that have dropped away from the joists is a support failure. A one-time discoloration from a past spill is different from a blackened band that comes back after every heavy rain. I would draw the line at damage that keeps spreading, keeps getting wet, or keeps attracting pests. That is the point where the crawl space insulation is no longer serving as insulation; it is serving as a damp surface.
The type of insulation matters too. Fiberglass batts are the most visibly damaged by sagging and contamination. They are also the most likely to hold dirt and odor once wet. Rigid foam board can survive incidental dampness better, but if it has gaps, broken seams, or water behind it, the performance drops and hidden rot becomes a concern. Spray foam can adhere well, but if it has shrunk, cracked, or pulled from the framing, you have an air-sealing failure as well as an insulation problem.
A lot of generic advice misses the roof-over-the-basement issue: the crawl space ceiling is often part of the thermal envelope. If that envelope has open seams, missing batts, or air leaks around rim joists, replacement should usually be paired with air-sealing work. Otherwise, new insulation can be undermined on day one. Cold floor, same old mess.
When should I stop and call a qualified professional?
You should stop when the problem is bigger than insulation and now involves moisture control, mold, structural wood, electrical hazards, or unknown contaminants. In those cases, insulation replacement may still happen, but not as a first move. The EPA advises getting expert help when mold or moisture damage is extensive, and the Department of Energy recommends addressing crawl space moisture conditions before reinstalling insulation.
Active standing water: Water on the floor or a saturated soil base means the crawl space has an active moisture source — do not disturb insulation until drainage, plumbing, or grading is addressed.
Visible mold on framing or widespread on insulation: Mold growth on more than a small isolated spot suggests a broader moisture condition — get a qualified professional to assess the source and the cleanup approach.
Soft, crumbling, or darkened wood: That can point to decay in joists or sill material — do not treat this as an insulation job; consult a professional.
Exposed wiring, junction boxes, or damaged ductwork: This creates safety and code issues — stop and have the area evaluated before removing anything.
Signs of asbestos-containing material or old contaminated debris: Older homes can hide materials that should not be disturbed casually — do not start demolition until the material is identified.
Strong sewer odor or evidence of sewage intrusion: That is a sanitation problem, not an insulation problem — the crawl space needs a professional response.
Heavy rodent infestation: Droppings, nesting, and chew damage mean the insulation is contaminated — removal may need to be handled with proper protective steps and pest control first; consult a professional if the extent is unclear.
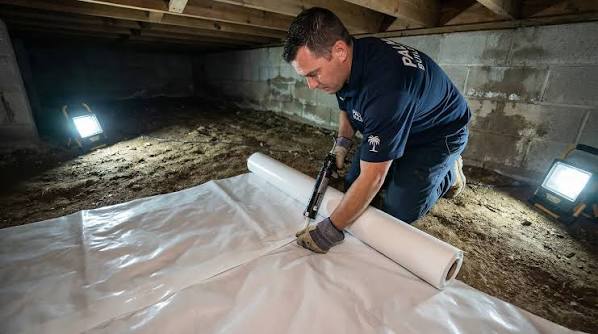
I also think a professional is the right call if the crawl space has a complex layout, very low clearance, or signs that the ground vapor barrier is missing. In those homes, the “replacement” question often turns into a broader system decision: insulation type, moisture control, venting, and air sealing have to work together. The EPA’s crawl space guidance and the DOE’s insulation guidance both point in that direction.
The mistakes people make with crawl space insulation
The most common mistake is replacing crawl space insulation before fixing moisture. That usually wastes money and can make odors worse if the new material gets damp again. The correct alternative is to identify why the insulation failed first: bulk water, humidity, or air leakage.
A second mistake is leaving damaged batts in place because “they are still there.” Hanging fiberglass can look present while doing very little. The consequence is uneven floor temperatures and ongoing moisture trapping. The better move is to judge attachment, thickness, and cleanliness, not just presence.
A third mistake is patching over mold or rodent damage with a few new pieces. That leaves contaminated material next to the fresh install and often means the same problem returns in the same bay. I would replace the affected section more completely, then address the access route, vents, or entry points that allowed the damage.
A fourth mistake is using the wrong material for the space. Paper-faced batts in a damp crawl space are a poor match in many settings because paper can hold moisture and dirt. The right alternative depends on the assembly and local building practice, which is why I do not think a one-size-fits-all answer is honest here.
A fifth mistake is ignoring rim joists and pipe penetrations. Even a 2-inch gap around a rim area can let air move enough to defeat the crawl space insulation. The consequence is drafts, condensation, and cold floors. The better alternative is to treat the crawl space as a system, not a pile of isolated cavities, and to confirm the air-sealing details before reinstalling insulation.
What if the crawl space is sealed, vented, or very old?
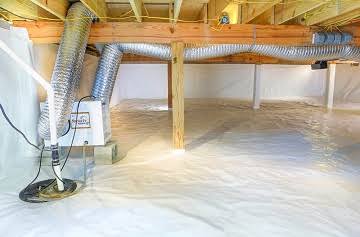
The standard advice changes when the crawl space is already part of a sealed assembly, when the home has unusual humidity behavior, or when the insulation is from an older code era. A sealed crawl space often uses ground vapor barriers and air sealing at the perimeter, so the failure point may be a missing seal or dehumidification issue rather than bad batts. In that case, blindly replacing insulation without checking the enclosure detail is risky.
Older homes can be tricky too. Some have insulation that was stapled up long before today’s moisture control standards, and the crawl space may have multiple layers of old repairs. If the installation includes odd materials, damaged foil facings, or layers that appear glued together, I would be careful about disturbing it without someone who knows historic assemblies. The wrong tear-down can uncover more than insulation problems.
Low-clearance crawl spaces are another exception. If there is barely enough room to move, inspection is limited and the chance of missing a wet bay is high. In that case, a partial visual check is not enough to make a solid replacement decision. I would want a professional inspection with proper lighting and moisture assessment.
The same caution applies in homes with recurring musty indoor air. The crawl space may be one contributor, but not the only one. The visible insulation can be a symptom, not the cause.
What a good replacement decision looks like
A good decision is specific: the damaged sections are identified, the moisture source is at least understood, and the material choice matches the crawl space conditions. If the crawl space insulation has only a small isolated defect, repair may be enough. If it is wet, moldy, fallen, or contaminated across multiple bays, replacement is the cleaner answer.
I would look for three things before agreeing that replacement is justified. First, the damage is repeated or widespread, not a one-off blemish. Second, there is a plausible cause — rain intrusion, plumbing leak, air movement, pest activity, or chronic humidity. Third, the crawl space plan does not ignore the ground, rim joists, or ventilation details. If any one of those is missing, the job is probably under-scoped.
A well-handled replacement should leave the floor above warmer, the crawl space drier, and the odor reduced. Those are qualitative outcomes, not promises. If the new insulation goes in and the same wet spots return after the next storm or the same bay sags again, the underlying issue was not fixed.
FAQ
Can crawl space insulation be saved if it gets wet?
Sometimes, but only if the wetting was minor, brief, and the material fully dried without mold, odor, or loss of shape. Once fiberglass batts are sagging, stained, or repeatedly damp, replacement is usually more sensible.
Does musty smell always mean the crawl space insulation is bad?
No. A musty smell can come from the soil, wood, duct condensation, or mold elsewhere in the crawl space. The insulation is one possible source, not the only one.
Is fiberglass worse than foam in a crawl space?
Not always, but fiberglass is more vulnerable to sagging, dirt, and moisture damage. Foam products can handle some conditions better, yet they can still fail if air sealing or moisture control is poor.
Can I inspect crawl space insulation myself?
A visual check is reasonable if the crawl space is accessible, dry, and free of obvious hazards. If you see standing water, exposed wiring, structural damage, or heavy contamination, stop and consult a professional.