How to Inspect a Crawl Space for Damage Safely
Last updated: September 10, 2026
Key Takeaways
- Scan the nearest 6 to 10 feet before crawling deeper.
- A crawl space can look dry near the hatch and still have standing water 20 feet away.
- This guide on how to inspect crawl space damage safely assumes you can reach the access door, have a flashlight, and can spend 20 to 40 minutes on a careful look.
- Forty minutes is my ceiling. After that, I’d rather back out, breathe, and return later than keep going with bad light or a tired body.
You can inspect crawl space damage safely, but only if the trip stays short, you use basic protective gear, and you know when to quit. For how to inspect crawl space damage safely, the rule is plain: if bending, crawling, dust, mold, or confined spaces are a problem for you medically, or if gas, sewage, structural failure, or active flooding is on the table, talk to a qualified professional before you go under the house. OSHA also warns about permit-required confined spaces and air hazards, so a crawl space deserves a cautious approach when the conditions are murky. Better nervous than sorry.
Who this is for — and who should do something else
Homeowners and tenants use this guide when a crawl space starts giving them hints: a damp smell, a higher energy bill, soft floors, visible stains, or pest activity. How to inspect crawl space damage safely begins with three practical checks — can you reach the access door, do you have a flashlight, and can you spare 20 to 40 minutes for a careful look? No construction background is assumed. But unsafe areas are off-limits.
I would not call this a do-it-yourself job if the crawl space is less than about 24 inches high, has standing water over roughly 1 inch deep, smells strongly of sewage or gas, has exposed electrical damage, or shows sagging framing. Those are not “take another look” problems. They can turn a routine inspection into a rescue call. If you spot structural movement, a plumbing leak that is actively spraying, or rodent activity in quantity, stop and get qualified help. The CDC and EPA both advise extra caution around mold, moisture, and contamination conditions.
The point is not to diagnose a health problem or “fix” anything on the spot. It is to spot visible damage, write it down, and decide whether the issue is minor, monitorable, or beyond a safe DIY check. For mold, pests, or moisture-related illness concerns, a clinician or other qualified professional should handle the human-health side of the question. On the building side, the right response depends on what you find and how bad it is.
A crawl space inspection is not the same as a full home inspection. A home inspector may use tools such as a moisture meter or thermal camera and may know when a defect crosses into a structural concern. Your job is narrower: safe access, careful observation, and clear notes. For how to inspect crawl space damage safely, that narrower job is usually enough to decide whether the next step is monitoring, repair, or professional evaluation.
What to gather before you crawl under the house
Only a few items are needed, but the right ones make the job safer and more useful. Start with a headlamp, not just a handheld flashlight. A headlamp keeps both hands free when you need to steady yourself or back out. Add gloves, knee pads, long sleeves, long pants, a dust mask at minimum, and if the space is dusty or has visible mold-like growth, a respirator rated N95 or better is commonly used. Wear boots with tread; smooth soles slip on damp vapor barriers and concrete. Sneaky little detail, that.
Take a phone with a charged battery and a camera. A simple tape measure helps estimate how far a pipe has dropped, how wide a crack is, or how much clearance you have above the soil. If you already own a moisture meter, use it to compare dry and wet-looking areas, but it is not required for a visual inspection. Bring a notepad or use voice notes if crawling makes writing awkward.
Before opening the access, stand outside and look for clues. Downspouts should carry water away from the foundation, and the soil should not slope toward the house. If a gutter overflow or downspout dump is obvious, you already have a likely moisture source to note. Smell gas? Stop before opening the hatch. See insect swarms, raccoon droppings, or a broken vent cover? That changes the risk profile. The EPA’s mold guidance also makes clear that moisture control starts outside the crawl space, not just inside it.
I also like to set a time limit before I start. Twenty minutes is enough for a quick check in a small crawl space. Forty minutes is my stop point; after that, I would rather come out, rest, and continue later than push through poor visibility or fatigue. A rushed crawl inspection tends to miss the one thing that matters. Misses it every time.
How to inspect a crawl space for damage safely
Begin outside, then work inward. That order helps you find the source before you chase the symptom. Next, move methodically from the access opening toward the farthest point and back. The aim is to inspect without stirring up dust, disturbing insulation, or trapping yourself in a low-clearance pocket.
| Method | Typical cost | Best for | Limits |
|---|---|---|---|
| DIY visual crawl space inspection | $20 to $60 for basic gear | First-pass checks for moisture, pests, and obvious damage | Not suitable for gas, sewage, major structural, or electrical hazards |
| Home inspector add-on | About $100 to $300 in many markets | Pre-sale or general condition review | May not include invasive testing or repairs |
| Structural or moisture specialist | Often $300 to $1,000+ | Visible sagging, repeated water, or recurring crawl space damage | Usually needed when the issue is active or hard to interpret |
- Check the air and entry point before you go in. Crack the hatch or door open a little and wait 30 to 60 seconds. Verify that the air does not smell like fuel, sewage, or a sharp chemical odor. A bad smell, hissing sound, or sudden rush of warm moist air can signal a hazard that should stop the inspection.
- Look at the access itself. Measure the opening and note whether you can exit without twisting sideways. Verify that the hatch is stable and the ladder, if present, is secure. A loose cover, warped framing, or a step that flexes under light pressure is a warning sign, and if anything shifts, a qualified professional should be brought in.
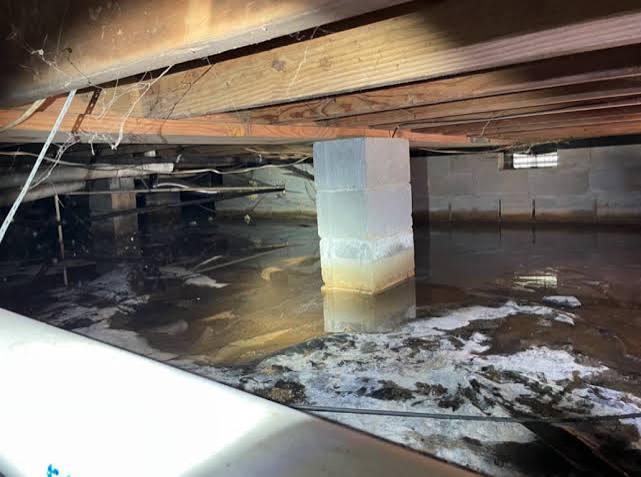
- Scan the nearest 6 to 10 feet before crawling deeper. Use the headlamp to look for standing water, wet insulation, collapsed duct wrap, animal droppings, and exposed wiring. Verify whether the floor is dry soil, concrete, or lined with a vapor barrier. Water, sagging insulation, or a torn barrier means the crawl space needs more than a visual check.
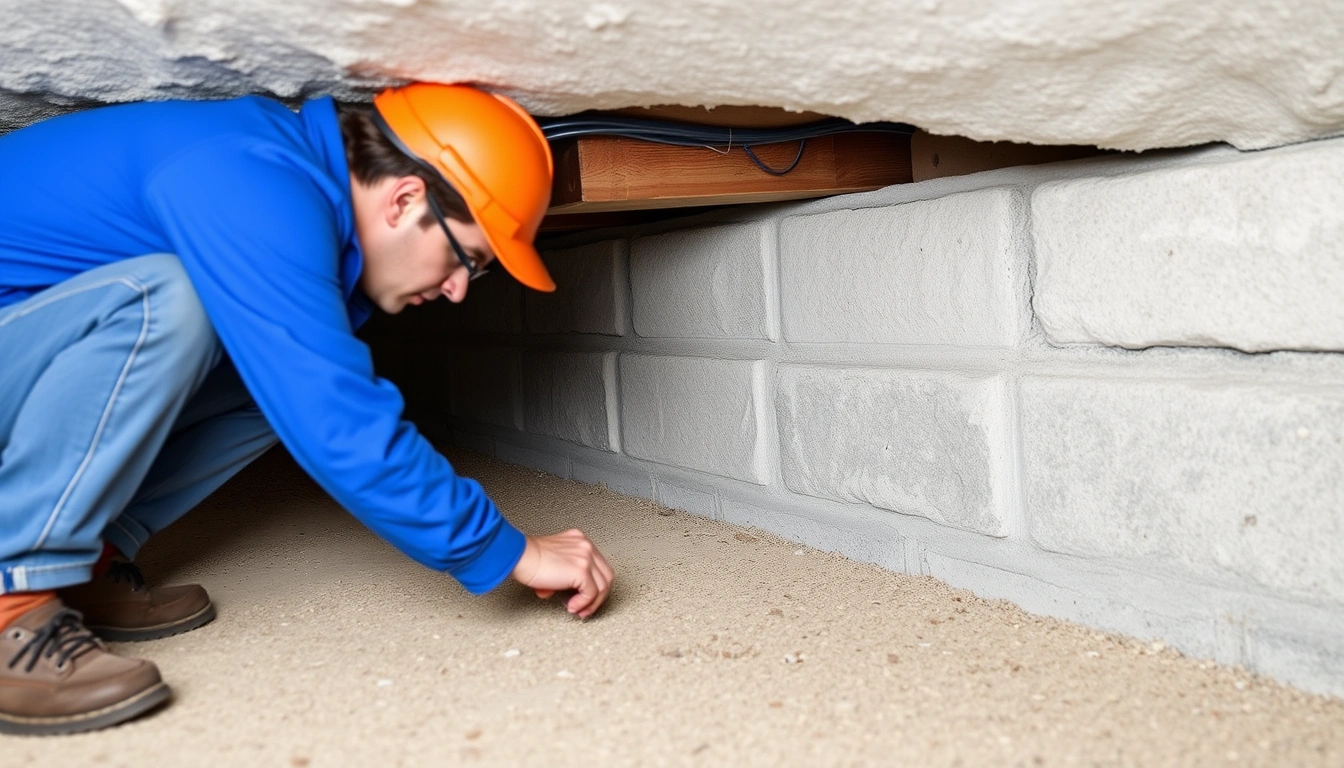
- Inspect the structure first. Look at joists, beams, posts, piers, and sill plates. Check for splitting wood, dark staining, fungus-like growth, rust on metal connectors, or a post that is not seated properly. A joist that bows visibly, a pier that leans, or a cracked support is a structural problem, not a cosmetic one.
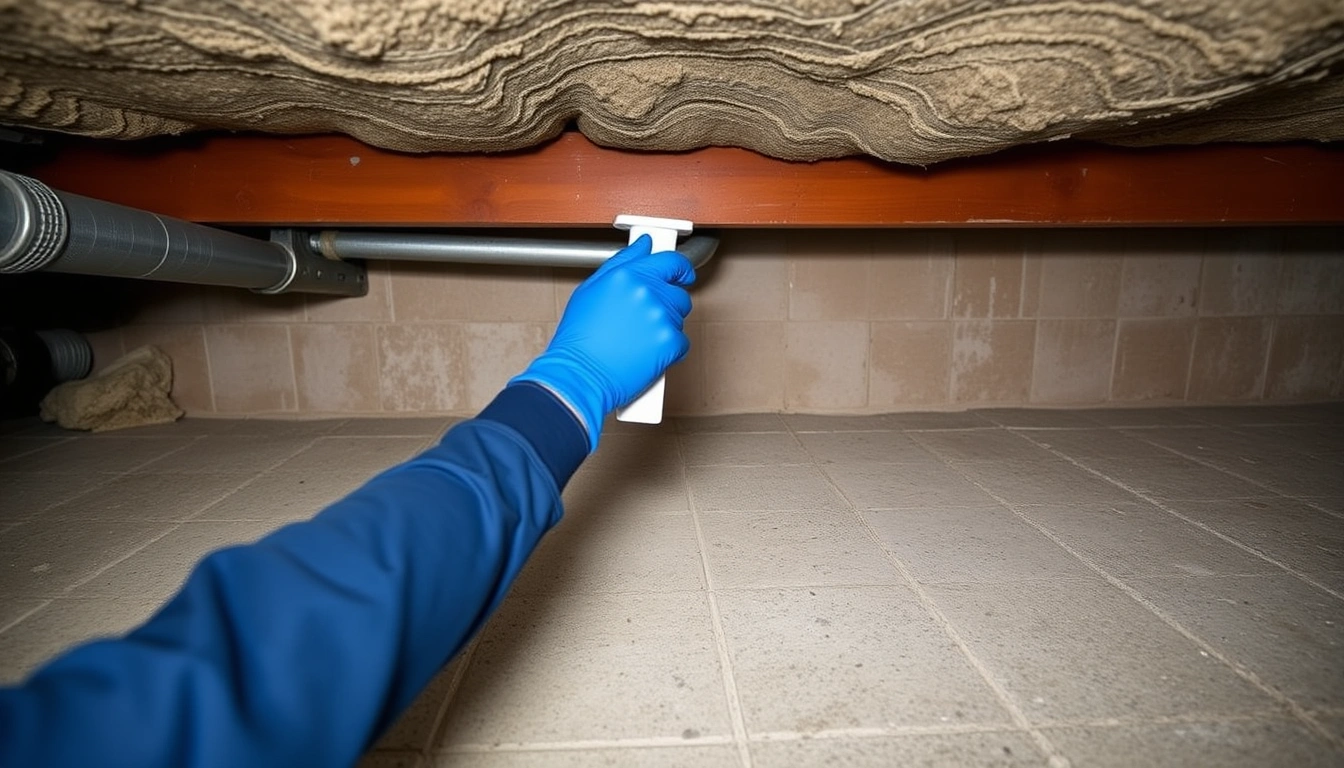
- Check plumbing and HVAC lines. Follow exposed pipes for drips, mineral crust, or staining. Look at duct joints for disconnected sections, crushed flex duct, or heavy dust buildup around leaks. Verify that pipes are supported and that condensate lines are not dumping water. Active dripping, rust trails, or sagging ductwork points to damage that can spread.
- Inspect insulation and the underside of the floor. Look for batt insulation that is fallen, compressed, or damp. Verify whether the paper or facing is intact and whether the underside of the subfloor shows dark spots or softness. Wet insulation, rodent nesting, or stained wood suggests ongoing moisture or pest activity.
- Examine the ground and vapor barrier. If there is plastic sheeting, look for tears, pooled water, and open seams. If the ground is bare, note mud, dampness, or white mineral deposits on masonry. A vapor barrier that is torn over more than a small patch, or soil that feels persistently wet, points to a moisture source that should be addressed.
- Check vents, vents covers, and any dehumidification equipment. Verify that vents are intact and not blocked, and if a dehumidifier is present, note whether it is running and draining properly. Broken screens, blocked vents, or standing water beneath equipment can make the crawl space worse instead of better.
- Document every concern before leaving. Take wide shots, then close-ups with a common object for scale, such as a tape measure. Record the location relative to the access point and any measurements, like a 1/4-inch crack or 3 inches of standing water. A vague note like “looks bad” is not enough to compare later.
A good inspection ends with a list, not a hunch. If all you found was light dust, a few cobwebs, and dry framing, that is normal. Moisture, structural movement, pest activity, or damaged utilities call for a clearer next step. If your notes do not make that obvious, the inspection was too loose.
What are the warning signs of crawl space damage?
Warning signs fall into five buckets: moisture, movement, decay, pests, and utility damage. Each points to a different problem. I separate them because a wet crawl space is not the same thing as a failing support, even though they often show up together. For how to inspect crawl space damage safely, that distinction keeps you from overreacting to a stain or underreacting to a structural issue.
Moisture signs include damp soil, puddles, condensation on pipes, rust on fasteners, mold-like staining, peeling insulation facing, and a musty odor. Condensation on a cold water line can be normal during humid weather, but widespread dampness is not. In a vented crawl space, the problem may be outside water getting in; in a sealed crawl space, it may be an interior humidity or drainage issue. The distinction matters. Big-time.
Movement signs include sloping floors, cracked or split joists, posts that are no longer plumb, gaps where a pier meets a beam, and visible separation at seams. “Plumb” means vertical. A post that leans a little may not be an emergency, but it does mean something shifted and should be tracked. If you see fresh cracking in masonry or new gaps at the subfloor, that is more serious than old settled damage that has not changed in years.
Decay signs include soft wood, fungal growth, and long-term staining. Wood rot often shows up after persistent moisture, not after one storm. If a screwdriver sinks into framing more than it should with light pressure, that is a bad sign. Rodent damage, chewed insulation, and gnawed wiring can also hide behind the first layer of debris.
Utility signs include drip marks on pipes, corroded connectors, disconnected ducts, exposed wire, and burnt insulation. If an electrical cable is damaged, I would not keep crawling past it. The right step is to leave the area and have a qualified person handle it. A crawl space is too cramped to gamble with electricity.
When should you stop and call for qualified help?
Stop when the crawl space contains a hazard that makes a visual inspection unsafe or makes the damage itself likely to worsen. These are the moments when continuing is the wrong call.
Standing water deeper than about 1 inch: It can hide soft soil, electrical hazards, and contaminated water — get qualified help before entering further.
Smell of gas, sewage, or chemicals: It can indicate a leak or contamination — leave immediately and contact the appropriate emergency or utility service.
Sagging beams, cracked supports, or a visibly leaning post: It may signal structural failure — do not keep moving under the affected area; arrange a structural assessment.
Exposed, wet, or damaged electrical wiring: It raises shock and fire risk — back out and avoid touching anything until a licensed professional evaluates it.
Insulation or surfaces covered with widespread mold-like growth: It may be a moisture and indoor-air-quality problem — stop the inspection and get the cause identified before cleanup is considered.
Signs of sewage backup, animal carcasses, or extensive rodent nesting: It can create infection and contamination concerns — do not disturb the material yourself; use professional cleanup.
Crawl space too low to move without force: If you cannot turn around or retreat without scraping hard against framing, you may not be able to exit quickly — do not enter, and consult a qualified professional if the opening or route is tight.
The common thread is simple: if the space is dark, cramped, wet, contaminated, or structurally suspect enough that you have to “just be careful,” that is usually the point to stop. A safe inspection is one you can end without improvising.
The mistakes people make in crawl space inspections
The biggest mistake is going in without a clear exit plan. People crawl under the house, then realize the opening is tighter than they expected or the route back is blocked by debris. Panic follows. So does trouble. The better approach is to map your path before your knees hit the ground.
Another common error is using only a phone light. A flashlight in one hand and a phone in the other leaves you with no spare hand for balance. The consequence is a missed defect and a greater chance of slipping. A headlamp solves both problems at once.
People also confuse surface dryness with safety. A crawl space can look dry near the hatch and still have standing water 20 feet away. That math stops working fast. The correct approach is to inspect the far corners, the low points, and any area under plumbing lines, even if the first few feet look fine.
A fourth mistake is touching damaged insulation, droppings, or fuzzy growth without protection. The consequence is dust, allergen, or contamination exposure, and sometimes it stirs the problem into the air. The better option is to photograph it from a distance, note the location, and leave it alone.
Another error is treating every stain like mold or every crack like collapse. That leads to either panic or complacency. A brown stain on a joist can be old water staining, not active rot; a hairline crack in concrete is not the same as a failing beam. The right alternative is to note the material, location, size, and whether the issue appears active or old. Context helps. A lot.
The last mistake is not documenting anything. Without photos and measurements, you cannot tell whether a crack widened from 1/16 inch to 1/8 inch, or whether a wet spot was one corner or the whole bay. That makes later decisions much harder.
What changes in older homes, sealed crawl spaces, or flood-prone sites?
The standard checklist still applies, but the risk profile changes. In older homes, especially those built before modern crawl-space detailing became common, I would expect more uneven framing, older piers, and more obvious air leaks. That does not automatically mean failure. It means you should separate age-related roughness from active damage. A 1950s floor system may look imperfect but still be stable, while a newer framing member with fresh splitting deserves more attention.
Sealed or encapsulated crawl spaces need a different lens. Encapsulation means the ground is covered, seams are taped or sealed, and the space is intended to be drier and more controlled than a vented crawl space. In that setup, a torn liner, failed dehumidifier drain, or open seam is a bigger deal than a bit of dust. If the humidity control system is present and the crawl space still smells damp, something is off.
Flood-prone sites are another exception. After heavy rain or a known flood, I would focus first on standing water, sediment lines, displaced insulation, and whether the crawl space has started holding moisture longer than it should. Then I would compare what I see with older photos, because repeat wetting often matters more than the first sign of damage. If the crawl space has been sealed, a post-flood inspection should also check whether the seal is still intact and whether the crawl space is drying as expected.
One practical point: the more complex the house, the less useful a rushed glance becomes. Older homes, sealed crawl spaces, and flood-prone sites are all situations where how to inspect crawl space damage safely means slowing down, not pushing farther.
Next steps after the inspection
Once you are back out, sort what you found into three buckets: normal, monitor, or act. Normal means dust, minor debris, and no active water or structural concerns. Monitor means a small stain, a hairline crack, or a damp spot that does not seem to be spreading. Act means standing water, damaged wiring, obvious sagging, or anything that made you stop early.
If the issue is minor, compare it with a later photo after the next heavy rain or in 30 days. If moisture is the issue, start outside: downspouts, grading, gutters, and drainage. If the problem is structural or electrical, get a qualified person involved before you return. And if you want a more formal baseline, a home inspector or specialist can document conditions with tools and measurements you may not have.
The goal is not to prove the house is perfect. The goal is to know whether the crawl space is stable enough to leave alone, whether it needs monitoring, or whether it needs professional repair now.