Crawl Space Water Intrusion Diagnosis: Complete Guide
Last updated: October 21, 2026
Key Takeaways
- Wet spots often reveal the end result, not the entry point.
- Diagnosis works best with a dry-weather baseline, outside inspection, and step-by-step checks inside.
- Storms and grading usually point to groundwater or surface water; fixture use usually points to plumbing.
- Enter only when the crawl space is safe enough to inspect.
Crawl Space Water Intrusion Diagnosis — The Complete Guide is about figuring out where the water is coming from, when it shows up, and whether you are dealing with surface drainage, plumbing leakage, groundwater, or condensation. If there is standing water, strong musty odor, visible mold, sagging insulation, damaged wiring, or signs of electrical hazard, speak with a qualified professional about your specific situation before doing more than a visual check.
Who this applies to, and what it assumes
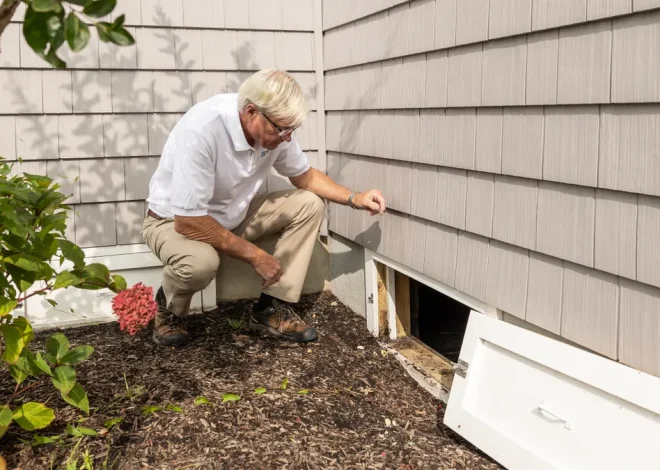
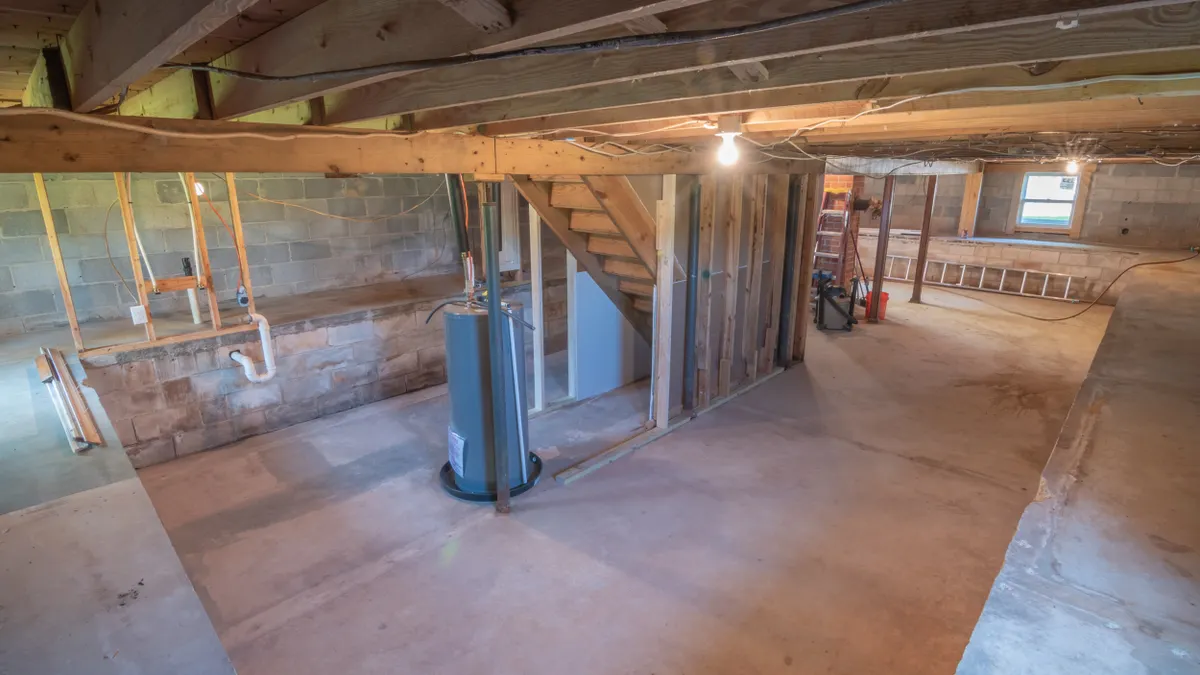
This guide applies to a homeowner, property manager, or inspector who needs to identify the source of water in a crawl space and decide what kind of help is needed next. It assumes you can safely access the crawl space, use a flashlight, and look at drainage, framing, insulation, vapor barrier, and any plumbing or HVAC lines that pass through the space. It does not assume special tools, but a moisture meter, phone camera, knee pads, and a tape measure make the job easier.
A crawl space is not the place to “wait and see” if the floor joists are wet, the insulation is dripping, or water is touching electrical components. A qualified contractor, plumber, or structural or environmental professional is the right next step when there is active flooding, suspected sewer backup, visible mold growth over a broad area, rotted wood, or signs that a foundation wall is moving. Health concerns also matter: if anyone in the home has asthma, allergies, or immune compromise, a damp crawl space can be a reason to get professional input sooner rather than later.
This guide is for diagnosis, not treatment, and it is best used with professional input when the situation is uncertain or hazardous. The job here is to identify patterns that point to the source: rain events, seasonal groundwater, plumbing failures, poor grading, blocked vents in the wrong climate, or condensation from humid outdoor air entering a cool space. The more precise the diagnosis, the less money gets wasted on the wrong fix.
A lot of generic advice misses one thing: the source is often not where the wettest spot appears. Water can enter at one corner and show up 20 feet away after it runs along a footing, plastic liner, or soil slope. That is why the first pass should be methodical, not reactive.
What water in a crawl space usually means
Water in a crawl space usually means one of four things: bulk water from rain or groundwater, a plumbing leak, condensation, or a drainage path that is carrying water in from somewhere else. The visible wet spot is often only the end of the story.
Bulk water is the broad term for water entering in quantity, usually from heavy rain, roof runoff, poor grading, or a high water table. A crawl space that gets wet only after storms often points to outside water management. If the space stays damp during dry weather, the cause may be groundwater, a plumbing leak, or humidity that is condensing on cooler surfaces.
Condensation is easy to miss because it can look like a leak. Warm, humid air hitting a cooler surface can deposit water on ducts, cold-water pipes, framing, or the underside of subflooring. In many homes, that shows up as droplets on metal, damp insulation, or dark staining on wood, especially when outdoor dew point is high. A hygrometer, which measures relative humidity, can help identify a moisture problem even when there is no standing water.
Plumbing leaks tend to leave clues that bulk water does not. Wet spots near supply lines, localized dampness around drain traps, staining below fixtures, or an active drip when the water is on all point toward an interior source. A sewer line issue can add odor and risk, which changes how the area should be handled.
The key question is not “Is the crawl space wet?” It is “What pattern does the water follow?” One heavy-rain event, one dripping pipe, or one humid week can create very different problems. A diagnosis based only on smell or surface wetness is usually too shallow to be useful.
The right standard here is pattern recognition, not guessing. A simple notebook, date-stamped photos, and a rain history from the last few days can tell more than a rushed walk-through. If you can link the wetness to a specific event, you are already closer to the real source.
How to diagnose crawl space water intrusion
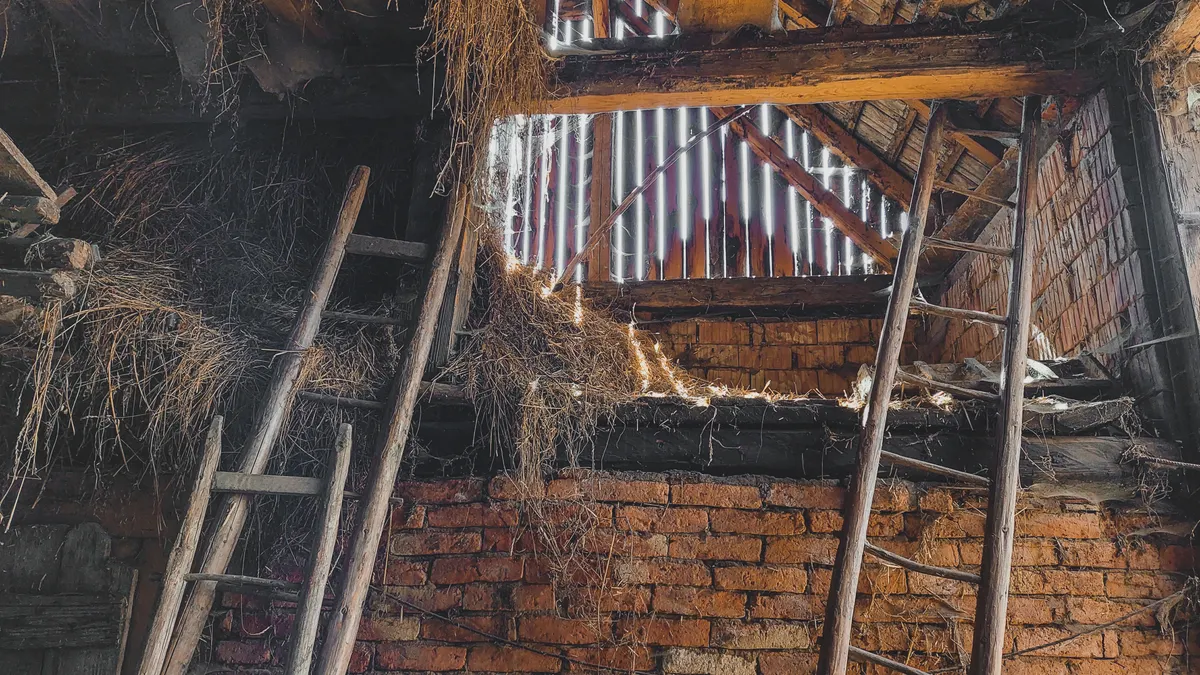
Crawl space water intrusion diagnosis starts with a dry-weather baseline, a careful outside inspection, and a step-by-step check inside the space. The goal is to connect each wet area to a likely entry path, not just to document damage after the fact.
- Start outside at the roof and downspouts. Walk the perimeter during dry weather and after rain if possible. Verify that gutters are intact, downspouts discharge away from the foundation, and splash blocks or extensions carry water several feet out from the wall. A common problem is a downspout that dumps water next to the foundation, which often shows up as wet soil or seepage at the crawl space wall on the same side.
- Check grading and soil slope. Use a 2-foot level, laser level, or tape to see whether soil slopes away from the house. A practical target is a visible fall away from the foundation over the first several feet, not a bowl-shaped low spot. If soil slopes back toward the wall, water can collect and press against the foundation. That pattern often matches wet corners, stained masonry, or damp joists nearest the perimeter.
- Inspect foundation walls and piers for entry lines. Look for cracks, mortar gaps, efflorescence (white mineral deposits left when water passes through masonry), damp seams, and staining at the wall-base junction. Note whether moisture is highest at one corner, at a cold joint, or along a crack. A vertical crack that is damp after rain is a different clue from broad dampness across the whole wall.
- Map the interior with measurements. Measure the distance from the wettest spot to the nearest wall, pier, plumbing line, or HVAC run. Take photos from the same angles and mark them with date and location. If water appears in the same bay between joists or under the same room above, that repetition matters. A wet area that tracks a pipe chase suggests an overhead leak; a wet area that starts at the wall suggests outside intrusion.
- Check plumbing under pressure and drainage fixtures. Turn on fixtures one at a time and look for drips, damp fittings, or active flow around supply lines, drains, condensate drains, or water heaters if present. A leak that appears only when a sink, tub, or appliance is used narrows the source quickly. Verify whether the wetness changes within 5 to 15 minutes of use. If it does, plumbing jumps to the top of the list.
- Look for condensation patterns on cool surfaces. Inspect ducts, metal straps, pipes, and insulation for droplets, rust, or wet dust. A hygrometer reading above the normal indoor comfort range suggests humidity may be part of the problem, especially if the crawl space is cool and the outdoor air is damp. If surfaces are wet on humid days but not after rain, condensation is more likely than groundwater.
- Examine the ground and vapor barrier. In an exposed dirt crawl space, look for dark soil, puddling, ruts, or channels that run toward low spots. On a lined crawl space, inspect the polyethylene vapor barrier for tears, unsealed seams, or edges that do not overlap correctly. A torn liner can let soil moisture evaporate into the space even when there is no standing water. If the barrier is missing, displaced, or punctured, that is a significant clue.
- Trace the timing with weather and use. Compare the appearance of water with rainfall, irrigation, snowmelt, and plumbing use over at least one or two cycles. A problem that appears only after a 1-inch storm points differently than a problem that appears on calm days with no rain. If the crawl space wets up after irrigation or during thaw, that pattern matters just as much as a thunderstorm.
- Test the suspected path, not the whole house at once. If safe to do so, isolate likely causes one by one: run a hose at the roof edge for a short period, stop irrigation for a cycle, or shut off one plumbing branch when appropriate. Verify whether water response changes in the crawl space. If the wet area stays unchanged after the suspected source is removed, the cause is probably somewhere else.
The important habit is to separate source, path, and symptom. Rain at the roof edge is the source; a gutter overflow is the path; wet insulation in the crawl space is the symptom. If those three are treated as one thing, the diagnosis tends to fail.
A moisture meter can help, but it is not magic. It reads relative moisture in materials and should be used as a comparison tool, not a verdict. A dry-sounding joist and a damp-sounding joist on the same span tell a story; a single reading by itself does not.
How do you tell groundwater from a leak?
Groundwater usually follows storms, saturation, and exterior grading; a leak usually follows plumbing use, a fixed line, or a single fixture. The distinction matters because the repair path is completely different.
Groundwater intrusion tends to show up at the perimeter, around footings, through wall cracks, or at the soil-wall junction. It often worsens after prolonged rain or snowmelt and may leave mineral stains or damp masonry. If the crawl space gets wetter on the low side of the lot or where the yard slopes toward the house, groundwater or surface water is a strong candidate.
A plumbing leak usually localizes around a line, fitting, drain, or appliance connection. If the crawl space gets wet even during dry weather, and the wet area sits directly below a bathroom, kitchen, laundry room, or water heater, a leak rises on the list. A pressure issue can be subtle; a small pinhole leak may only dampen wood over time, which is why the exact location matters.
Condensation is different again. It often appears as scattered wetness on cooler surfaces, especially ducts, metal pipes, and the underside of subflooring in humid weather. If the soil is dry but the metal is dripping, the problem may be humidity control rather than bulk water entry. This is common in crawl spaces with outdoor air vents in a humid climate or with ductwork carrying cold air through an unconditioned area.
A useful field clue is the shape of the wet area. Groundwater often creates a broad zone. A leak often creates a line, spot, or trail. Condensation often creates droplets and damp surfaces in the upper part of the crawl space rather than only at ground level. None of these clues is perfect on its own, which is why timing and repeatability matter so much.
If the space contains a sump pit, sump pump, or drain tile, the question changes slightly: is the system failing, undersized, or running normally but overwhelmed? A sump pump that short-cycles, never runs, or runs constantly can signal a separate drainage problem. In systems with interior drainage, a written record of pump cycles during a storm can be more useful than a glance.
What to check before going further
The crawl space should be safe to enter before any diagnosis goes deeper. That means checking for electrical risk, air quality concerns, pests, sharp debris, unstable soil, and low clearance that makes movement unsafe.
Start with the obvious hazards. If water is near electrical wiring, outlets, junction boxes, or a furnace, do not treat the crawl space like a routine inspection zone. If you smell sewage, encounter a dead animal, or see visible mold over a wide area, the situation may require qualified help before closer inspection. A strong odor does not tell you the source by itself, but it does change the safety profile.
Check whether you can move without disturbing evidence. Crawling through standing water, stepping on loose insulation, or tearing a vapor barrier can erase clues. If the floor is soft or the soil is saturated, limit movement to what is necessary. A 5-minute methodical look often yields more than a 30-minute scramble.
Also look at what the house has already told you. New stains on ceilings, floor cupping above the crawl space, spongy subflooring, or recurring musty odor in the living area all support a longer-standing moisture problem. The crawl space may be the symptom site, but the house above can confirm that the issue has been active long enough to matter.
If the foundation shows bowing, horizontal cracking, or shifting piers, that changes the scope. Water may still be present, but structural movement becomes part of the diagnosis. The same is true if there is asbestos-containing insulation or old vermiculite in the space; that is not a casual DIY condition.
A good rule is simple: if the crawl space cannot be entered without crossing water, electrical risk, contamination, or structural uncertainty, diagnosis should stop at observation and documentation. The next move is not to push deeper.
When to stop, and what to do instead
You should stop the DIY diagnosis and get qualified help in several specific situations.
Active water near live electrical components: This creates shock and fire risk — Shut off power only if it is safe to do so from outside the hazard zone, then call a licensed electrician and a water-damage or building professional.
Widespread visible mold or persistent severe odor: This may indicate a broader moisture problem and possible indoor air-quality concern — Avoid disturbing the area and get a mold or environmental professional to assess scope and next steps.
Suspected sewage backup or contaminated water: This changes the exposure risk and cleanup method — Do not crawl through it; contact a plumber or sewage-remediation professional.
Foundation cracks with bowing, shifting, or new step cracks above the crawl space: This may point to structural movement, not just moisture — Get a structural engineer or foundation specialist involved before any repair attempt.
Soft, rotted, or visibly sagging framing: Water may already have damaged load-bearing wood — Limit access and have a qualified contractor evaluate the structural condition.
Repeated flooding after ordinary rain: The problem may be beyond a simple patch, such as grading failure, missing drainage, or groundwater pressure — Bring in a drainage or waterproofing specialist who can diagnose the full water path.
Unknown source after one thorough inspection cycle: If the cause is still unclear after checking roof runoff, grading, plumbing, and humidity, the next step is targeted testing — A professional with a moisture meter, thermal camera, or plumbing isolation tools can narrow it down faster.
The wrong move in these cases is to keep “looking until something obvious appears.” That often creates more damage, not better information. Stopping early is not giving up; it is preserving evidence and avoiding a second problem.
The mistakes people make, and what they cost
The most common diagnosis errors are all variations of guessing too early.
One mistake is assuming the wettest spot is the entry point. Water often travels along framing, vapor barriers, sill plates, or soil before it appears. The cost is a misdirected repair, such as sealing the wrong wall or replacing insulation that was never the source.
Another mistake is fixing only the symptom, such as laying plastic over a puddle or running a dehumidifier without identifying the source. That may make the space look better for a time, but it does not tell you why the water is there. The cost is recurring damage, especially after the next storm or humidity spike.
A third mistake is ignoring timing. If a crawl space gets wet only after a 2-inch rain, the problem is not the same as a space that is damp every morning in July. The cost is bad diagnostics and, sometimes, a repair plan that addresses the wrong season.
A fourth mistake is treating condensation like a leak. That can lead to unnecessary plumbing work when the real issue is humidity, duct sweating, or ventilation behavior. The cost is wasted money and, occasionally, worse moisture balance if the wrong fix changes airflow without solving the source.
A fifth mistake is disturbing evidence before documenting it. Pulling back insulation, moving soil, or drying the area immediately can erase the moisture pattern. The cost is a less accurate diagnosis, which makes later repairs harder to justify and verify.
A sixth mistake is overlooking the outside. A downspout extension, clogged gutter, or negative slope in the first 6 feet around the house can be the whole story. The cost is repeated interior work when the real answer sits in the yard.
The best alternative is a simple sequence: document, time-stamp, compare, and isolate. That sounds slower, but it is faster than repairing the same problem twice.
Edge cases that change the diagnosis
Certain crawl spaces need modified interpretation because the usual clues do not behave normally.
A sealed or encapsulated crawl space can hide water paths under the liner. In that case, inspect seams, fasteners, wall edges, and any punctures with extra care. Water may travel beneath the membrane and appear far from the entry point, so the liner itself becomes part of the diagnostic map.
Homes built on sloped sites often collect water at the downhill side, even when the uphill side looks fine. That means one corner may be wet year-round while the opposite side stays dry. The fix may involve perimeter drainage, regrading, or downspout changes on the uphill side, not the wet corner itself.
In humid climates, vents can worsen condensation if they bring in moist outdoor air that condenses on cooler crawl space surfaces. In cooler or drier climates, the same venting pattern may not create the same problem. This is why advice about crawl space ventilation is climate-dependent and should not be treated like a universal rule.
Homes with radiant heat, large HVAC ducts, or cold-water distribution in the crawl space can create isolated condensation zones. A 4-inch supply line may sweat while the rest of the space stays dry. The diagnosis should focus on the cold surface and the humidity source, not just the presence of water.
If the home sits over a high water table or flood-prone area, seasonal groundwater can be part of the normal pattern. That does not make it harmless. It means the diagnosis must separate seasonal rise from a new failure, such as a sump issue or blocked drainage. A before-and-after comparison with rainy and dry periods is essential.
Older homes with stone or brick foundations can show dampness through porous walls even without a dramatic leak. Efflorescence and chronic mineral staining are common clues. The question becomes whether the wall is simply admitting vapor or whether water is actively entering through cracks and joints.
What a good diagnosis looks like
A good diagnosis tells you where the water enters, when it appears, how it moves, and which system is responsible. That usually includes photos, dates, weather notes, and at least one clear pattern: storm-driven wall seepage, plumbing-related wetness, condensation on cold surfaces, or drainage failure at the perimeter.
A useful result is specific enough to support the next decision. “Water is under the house” is not enough. “The crawl space gets wet at the north wall within 12 hours of heavy rain, while the interior stays dry during normal plumbing use” is much more useful. That statement points toward exterior drainage or groundwater, not a random interior leak.
A good diagnosis also identifies what is not the cause. If the plumbing is dry, the roof runoff is controlled, and the wetness still appears after storms, that narrows the field. Excluding the wrong sources is part of the work.
What does not count as a good diagnosis is a guess wrapped in confidence. A recommendation to install a sump pump, add a dehumidifier, or seal the foundation without identifying the source may help in some cases, but it is not diagnosis. Those are treatments, and they should follow evidence.
If the problem keeps returning after one rainfall, one thaw, or one humid week, the diagnosis is not complete. At that point, the right move is to collect better evidence or bring in qualified help. The cost of being wrong in a crawl space is not just the repair bill; it is the wood, air quality, and structure above it.
Sources and standards worth knowing
The diagnosis gets better when it uses the same terms professionals use. The U.S. Environmental Protection Agency’s guidance on moisture, mold, and indoor air quality is a useful reference for understanding why dampness matters and why drying alone is not always enough. The EPA’s mold guidance page is one place to start.
The Building Science Corporation and similar building-science organizations discuss crawl space moisture, condensation, and conditioning strategies in practical terms. The key idea across that literature is that moisture source control matters more than cosmetic cleanup.
For electrical safety around damp areas, the National Electrical Code, which is published by NFPA, is the relevant standard family. If water is anywhere near wiring or equipment, the electrical condition changes the urgency of the diagnosis.
These references do not replace an on-site evaluation. They do, however, give the diagnosis a common language: source, path, symptoms, and risk. That is the frame that keeps a wet crawl space from becoming an expensive guessing game.
What should I photograph during the inspection?
Photograph the wettest spots, the full wall or bay, nearby plumbing, foundation cracks, downspouts, grading, and any stains or mineral deposits. Include a ruler, tape measure, or another scale object when possible. Date-stamped photos taken from the same angle on different days make patterns easier to prove.
How long should the crawl space stay dry after a rain?
A dry crawl space should not show new standing water hours or days after a normal rain event. If wetness appears late, tracks inward from the perimeter, or returns with each storm, the drainage path is still active. The exact timing depends on soil type, slope, and groundwater conditions.
Can a dehumidifier fix crawl space water intrusion?
A dehumidifier can reduce humidity-related problems, but it does not fix bulk water entry, leaking plumbing, or poor drainage. It is a moisture-control tool, not a source-finding tool. If water is entering from outside or from a pipe, the source still needs to be identified and addressed.
Drafted with AI; not yet reviewed by a person.