Crawl Space Repair Services & Costs — The Complete Guide
Last updated: September 10, 2026
Key Takeaways
- The biggest crawl space repair services & costs are usually driven by size, access, drainage, and structural damage; a 600-square-foot space is a different job from a 2,000-square-foot one.
- For example, “install 20-mil vapor barrier over the crawl space floor and 6 inches up the foundation wall” is specific.
- In a damp crawl space, this may take 24 to 72 hours or longer depending on weather and access.
- A wet crawl space with no standing water may need a vapor barrier and better grading outside.
A crawl space that smells damp, sags underfoot, or collects water is not a small nuisance. The real question is sharper than “Do I need crawl space repair?” It is: what kind, what will it cost, and who can actually handle it? This crawl space repair services & costs — complete guide answers that directly, because the work can range from a quick drainage fix to serious structural repair, and guessing wrong gets expensive fast.
What crawl space repair covers, and who this guide is for
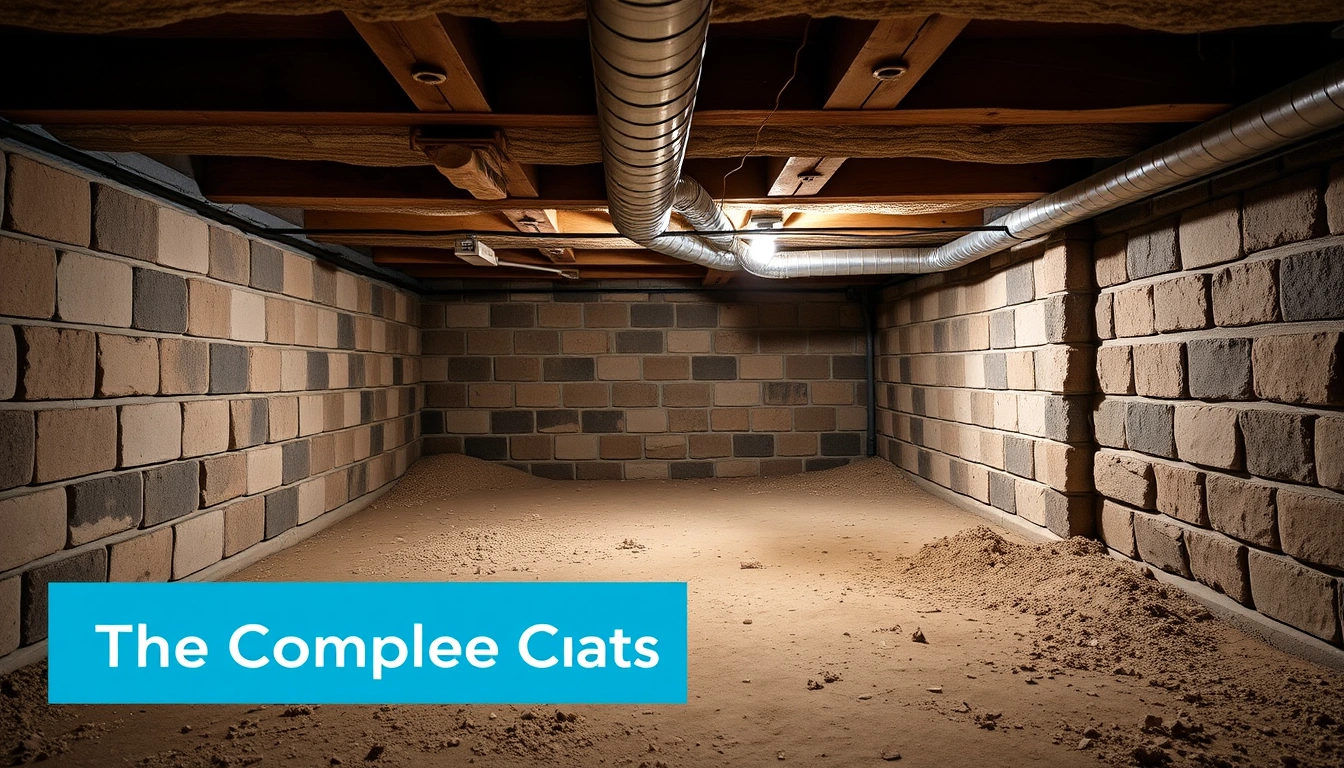
This crawl space repair services & costs — complete guide is for a homeowner who already knows something is wrong under the house and needs to decide whether to call a crawl space contractor, a foundation repair company, or a general handyman for a small fix. It assumes you can inspect the crawl space entrance, notice moisture, wood rot, uneven floors, or insulation damage, and describe the issue in basic terms. It also assumes you are not trying to become your own structural engineer.
Crawl space repair services usually fall into five buckets: moisture control, drainage, structural support, air sealing/insulation, and pest or mold cleanup. What matters is the cause, not just the mess you can see. A wet crawl space with no standing water may need a vapor barrier and better grading outside. A crawl space with a sloping floor and cracked block piers may need a structural repair, which is a different job entirely. According to the U.S. EPA and DOE, moisture control and air sealing work best when they address the source, not only the symptom.
This is not a weekend project for every homeowner. I would not treat structural movement, active mold growth over a large area, severe wood rot, or a crawl space with electrical hazards as DIY territory; consult a qualified crawl space or foundation professional, and see EPA guidance on mold and the International Code Council’s structural and moisture provisions. In those cases, the job can involve load-bearing members, contaminated materials, or conditions that get worse while you are guessing. Small air sealing? Fine. Replacing a failed beam support? Different story.
For context, many crawl space contractors quote work in categories rather than line items. So one estimate may include a sump pump, perimeter drain, vapor barrier, dehumidifier, and minor pier repair. Another may only address one symptom. Compare those without checking scope, and the “cheap” bid may not be cheap at all. See the FTC’s advice on comparing multiple written estimates before you decide.
A useful rule: if the problem affects floor level, beam support, standing water, or visible fungus growth, I would treat it as a repair project that needs a contractor who understands crawl space systems, not just a moisture salesperson; consult a professional and review EPA mold guidance and HUD foundation-repair guidance. If the issue is a torn insulation batt or a torn vapor barrier patch, that may be much simpler.
How much do crawl space repair services cost?
Crawl space repair services & costs can run from a few hundred dollars for a minor fix to many thousands for drainage, encapsulation, and structural work, depending on the size of the crawl space and the damage underneath. The total price usually comes from labor, access difficulty, material choice, and whether the job is preventive or corrective. Angi and HomeAdvisor both report wide price ranges for encapsulation, drainage, and structural repairs because site conditions vary so much.
Here is the part most generic articles skip: crawl space pricing is usually driven by systems, not symptoms. A homeowner might say “I need mold removed,” but the real expense may be the source of the moisture, the ventilation problem, and the damaged insulation that has to come out first. If the contractor only treats the visible problem, the bill can look smaller and the repair can fail faster; EPA guidance on mold cleanup and moisture control makes the same basic point.
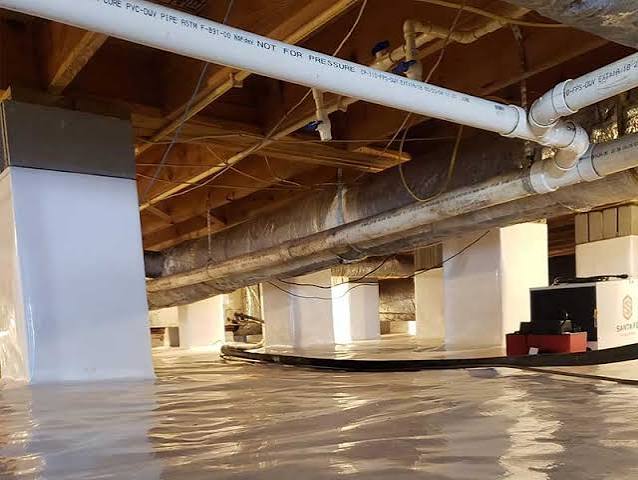
In practical terms, a small crawl space service call for inspection, minor sealing, or a localized moisture fix may be relatively modest. Once the job includes a sump pump, perimeter drainage, vapor barrier installation, dehumidifier setup, support jack installation, or beam/joist repair, the cost rises quickly because each piece adds labor and materials. Encapsulation, which means sealing the crawl space floor and walls from outside moisture and air intrusion, is usually among the pricier options because it involves more surface area and more components. The U.S. Department of Energy describes crawl space encapsulation as a system approach, not a single material.
The biggest crawl space repair services & costs drivers are:
– Size of the crawl space: A 600-square-foot space is a different job from a 2,000-square-foot one.
– Height and access: A 18-inch clearance crawl space takes longer and is harder to work in than a 4-foot one.
– Drainage conditions: Standing water, clay soil, or poor site grading can require more than a barrier.
– Structural damage: Sistering joists, installing new support posts, or correcting settlement adds complexity.
– Moisture source: Ground moisture, bulk water intrusion, plumbing leaks, and poor ventilation each need a different fix.
– Regional labor costs: A wet crawl space in a humid Gulf Coast area is not priced like one in a dry inland market.
I would be cautious of a quote that is dramatically lower than the others without a clear reason. Crawl space work is detail-heavy. A contractor who skips prep, uses thin barrier material, or leaves drainage incomplete can create a short-term visual improvement and a long-term problem. Cheap today can be brutal tomorrow. A lower bid is not automatically better if it leaves out key steps or has to be redone.
For a reader trying to budget, ask for an itemized scope with separate prices for inspection, drainage, vapor barrier, insulation, dehumidification, mold remediation, and structural repair. That way you can tell whether you are paying for a real solution or for a bundle of symptoms. The FTC also recommends comparing itemized bids, not just totals.
What a good crawl space repair estimate should include
A good crawl space estimate should include the cause of the problem, the exact work to be done, the materials used, and what is not included. If an estimate only says “repair crawl space moisture,” that is not enough detail to compare jobs.
I look for a scope that names the actual system components. For example, “install 20-mil vapor barrier over the crawl space floor and 6 inches up the foundation wall” is specific. “Add plastic barrier” is not. “Install interior perimeter drain to sump basin with discharge line” is useful. “Fix water issue” is not. “Replace 6 rotted floor joists” is specific. “Tighten floor” is vague. See DOE guidance on crawl space encapsulation and the IRC code language for moisture-control details.
Ask whether the quote includes:
– Removal of damaged insulation, debris, and old plastic
– Surface preparation, including drying and cleaning
– Vapor barrier thickness and attachment method
– Drainage route and discharge location
– Sump pump type and backup power, if any
– Dehumidifier sizing and drainage method
– Support post or beam repair details
– Mold treatment method, if used
– Permits, if structural work or electrical changes require them in your area
– Warranty terms and what conditions void them them
A trustworthy estimate also explains what the contractor found. If a company says the crawl space is wet but never explains whether the cause is groundwater, roof runoff, plumbing, or condensation, I would slow down. Moisture problems that come from the outside of the house often need grading, gutters, downspout extensions, or drainage. Moisture caused by indoor air entering a cold crawl space may need sealing and dehumidification. Those are not interchangeable. The EPA and DOE both stress matching the fix to the moisture source.
One more detail matters: the estimate should say whether the job is a full-system fix or a partial repair. A partial repair may be fine if the issue is local, such as one leaking plumbing line or one failed support pier. It is not fine if the crawl space has widespread humidity, mold, and standing water. A partial fix in the wrong setting can look cheap and fail fast.
If a contractor cannot tell you what problem they are solving, the estimate is not useful no matter how polished it looks.
How is crawl space repair done?
Crawl space repair usually follows a sequence: diagnose the moisture or structural source, remove damaged material, stop incoming water or air, install the repair system, and then confirm the space is dry and stable enough to stay that way. Skip the order, and the job gets messy quickly.
- Inspect the whole crawl space, not just the worst corner. Measure the space, note floor height, beam condition, pier spacing, water depth if present, and humidity if you have a meter. Verify whether the damage is isolated or widespread. A problem is signaled by water marks on multiple walls, rust on metal components, soft subfloor, or insulation sagging across large areas.
- Find the moisture source before installing anything. Check gutter discharge, grading, plumbing leaks, open vents, and visible soil dampness. Verify whether water enters after rain or stays present during dry weather. If moisture appears only after storms, exterior drainage is likely part of the fix. If the crawl space stays damp in dry weather, condensation or soil vapor may be involved.
- Remove damaged insulation, debris, and failed vapor barrier sections. Strip out soaked fiberglass batts, torn plastic, moldy cardboard, and any loose material on the ground. Verify that joists, sill plates, and piers are visible enough to inspect. A problem is any hidden rot that only appears after cleanup, because that means the repair scope just grew.
- Dry the space before sealing it. Use fans, temporary dehumidification, or both, and let the area reach a visibly dry condition before enclosing it. In a damp crawl space, this may take 24 to 72 hours or longer depending on weather and access. Verify that standing water is gone and the soil surface is not slick. If odor, staining, or active moisture remains, sealing too early traps the problem.
- Repair drainage and water entry points. Install or repair perimeter drains, a sump pump, discharge piping, downspout extensions, or grading corrections as needed. Verify that water has a defined exit path and that discharge moves away from the foundation. A problem is a sump basin with no practical outlet, a pump that cycles improperly, or downspouts dumping right beside the house.
- Install the vapor barrier or encapsulation layer correctly. A vapor barrier is a moisture-resistant sheet laid over the crawl space floor; encapsulation extends that sealing to walls, piers, and air gaps. Verify overlap, seams, fastening, and wall coverage. If seams are loose, gaps are visible, or the barrier ends before the wall edge, moisture and air will still move through.
- Address structural damage with the right support method. Replace damaged joists, sister them with matching lumber where appropriate, or add adjustable steel support posts under load-bearing points. Verify that floors are levelled within the practical tolerance for the house and that load paths are direct. A problem is a support post set on weak soil or a beam repair that ignores the original cause of settlement.
- Control humidity and finish the air seal. Seal obvious air leaks around rim joists, penetrations, and access points, then install a properly sized dehumidifier if the climate and crawl space design call for it. Verify drainage, power, and condensate routing. A problem is a dehumidifier that cannot keep up, runs nonstop, or has nowhere to drain.
- Inspect the finished work and document conditions. Check for ponding, exposed soil, loose barrier edges, dripping ducts, or missed rot after the job is complete. Verify that the crawl space is clean, dry, and accessible for future inspection. A problem is any hidden area left untreated, because unfinished corners are where failure starts again.
The main technical term here is encapsulation. It is not just “putting plastic down.” It means sealing the crawl space from ground moisture and outside air with a continuous barrier system, usually paired with drainage and dehumidification. Done well, it reduces humidity and odor. Done badly, it can trap moisture against wood or hide a leak until damage spreads.
How long does crawl space repair take?
A simple crawl space repair can take a few hours, while a full drainage-and-encapsulation project can take several days, depending on the size of the crawl space and the amount of damage. Structural repairs take longer than moisture-only work because the contractor has to stabilize loads, remove failed material, and verify support alignment.
For planning purposes, small jobs often happen in a single visit. That might include patching a barrier, sealing a plumbing penetration, or replacing one section of damaged insulation. More involved work usually stretches across at least 1 to 3 days when a crew needs to remove debris, dry the area, install drainage or barriers, and return to finish details. If mold remediation, electrical changes, or beam repair are involved, the timeline can extend further.
What slows the job down most is hidden damage. A crawl space that looks like a moisture issue can reveal rotted sill plates, insect damage, or a failed support pier once the crew opens it up. Once that happens, the contractor may need to revise the scope. That is not automatically a red flag. It is normal when the original inspection was limited by dirt, low clearance, or standing water. What would worry me is a contractor who never explains the change order or keeps adding tasks without showing why.
Weather matters too. In humid conditions, drying can take longer, and in a rainy week, exterior drainage work may be delayed. If the crawl space sits under a home with very low clearance, simple labor takes longer because every step is slower. A 4-foot crawl space and a 12-inch crawl space are not the same job. The latter often requires more labor just to move materials and tools.
A good result looks boring: no standing water, no musty odor strong enough to greet you at the hatch, no sagging insulation, no obvious pest access, and no visible soft spots in the subfloor. If the crawl space still smells damp after the work is done, or if the floor remains uneven, I would not call it finished.
What are the most common crawl space repair mistakes?
The most common mistake is treating the symptom instead of the source, and that usually means paying twice. A dry-looking floor does not matter if a gutter is still pouring water beside the foundation or a plumbing leak is still feeding the crawl space. The right alternative is to identify why the moisture is there before installing a barrier or dehumidifier.
Another mistake is choosing the wrong fix for the climate. In a humid area, open vents can pull moist air into a cooler crawl space and drive condensation. In a dry area, the same setup may be less problematic. A contractor who gives the same answer everywhere is oversimplifying. The alternative is a climate-aware scope that considers local humidity, soil type, and seasonal wet periods.
A third mistake is using flimsy barrier material or poor seam work. Thin plastic tears easily and gaps at the seams let moisture and soil gases move through. The result is a crawl space that still smells damp after the job. The correct alternative is a barrier system specified by thickness and installed with sealed overlaps and wall terminations.
A fourth mistake is ignoring structural signs because the floor still “mostly feels fine.” Sagging joists, cracked piers, or gaps at interior doors can signal movement under the house. If those signs are dismissed, the homeowner may end up with more expensive beam or floor repair later. The alternative is to separate cosmetic symptoms from load-bearing damage during the inspection.
A fifth mistake is not checking the discharge path for drainage equipment. A sump pump that empties too close to the foundation can send water right back where it started. The correct alternative is a discharge line that carries water away from the house to a lawful, practical outlet.
A sixth mistake is hiring the cheapest quote without asking what is excluded. Some estimates leave out debris removal, mold cleanup, drainage, or dehumidification. The result is a low upfront number and surprise charges later. The alternative is to compare itemized scopes, not just totals.
When should you stop and call someone else?
You should stop the DIY approach and bring in a crawl space or foundation specialist when the problem is structural, actively wet, or too broad to solve with one simple fix. Crawl space repair crosses into load-bearing and moisture-control territory fast, and a wrong repair can make the house less stable or more mold-prone. See EPA mold guidance and the FTC’s hiring advice for contractor selection.
Standing water is present after rain: This means the crawl space has an active water entry problem, not just humidity — stop sealing surfaces and get drainage evaluated first.
Floors are visibly sloping or bouncing more than before: This suggests support failure or settlement — do not add random shims; get a structural assessment.
Wood is soft, crumbly, or darkened over a large area: That points to rot that may extend beyond what you can see — replacing one spot will not solve it.
Mold covers more than a small patch: Widespread growth usually means the moisture source is still active — clean-up alone will not hold; consult a qualified mold professional and review EPA guidance.
Electrical wiring, junction boxes, or HVAC components are exposed to water or heavy condensation: This is a safety and code issue — do not work around energized systems; arrange qualified service.
The crawl space is too low to work safely for long periods: Tight clearance slows work and raises the chance of missed damage — a specialist with the right tools may be the safer and faster option.
The consequence of pushing through the wrong situation is usually the same: you spend money on a visible fix, then discover the real problem six months later. In crawl spaces, hidden failure is normal when the source is not handled.
If you are only dealing with a torn vapor barrier edge, a small access hatch seal, or a single plumbing drip, that may be the